

When you're reeling from property damage, what you do in those first few hours can make or break your insurance claim. Before you do anything else, you need to focus on three things: safety, stopping any further damage, and documenting everything before it gets touched. This initial response truly sets the foundation for a successful claim.
What to Do Immediately After Property Damage
In the chaotic aftermath of a fire, flood, or major storm, your first instinct must be safety. Forget the insurance paperwork for a moment. Make sure every person is safe and accounted for. If there's any ongoing danger—like a fire, a potential gas leak, or a shaky structure—call emergency services immediately.
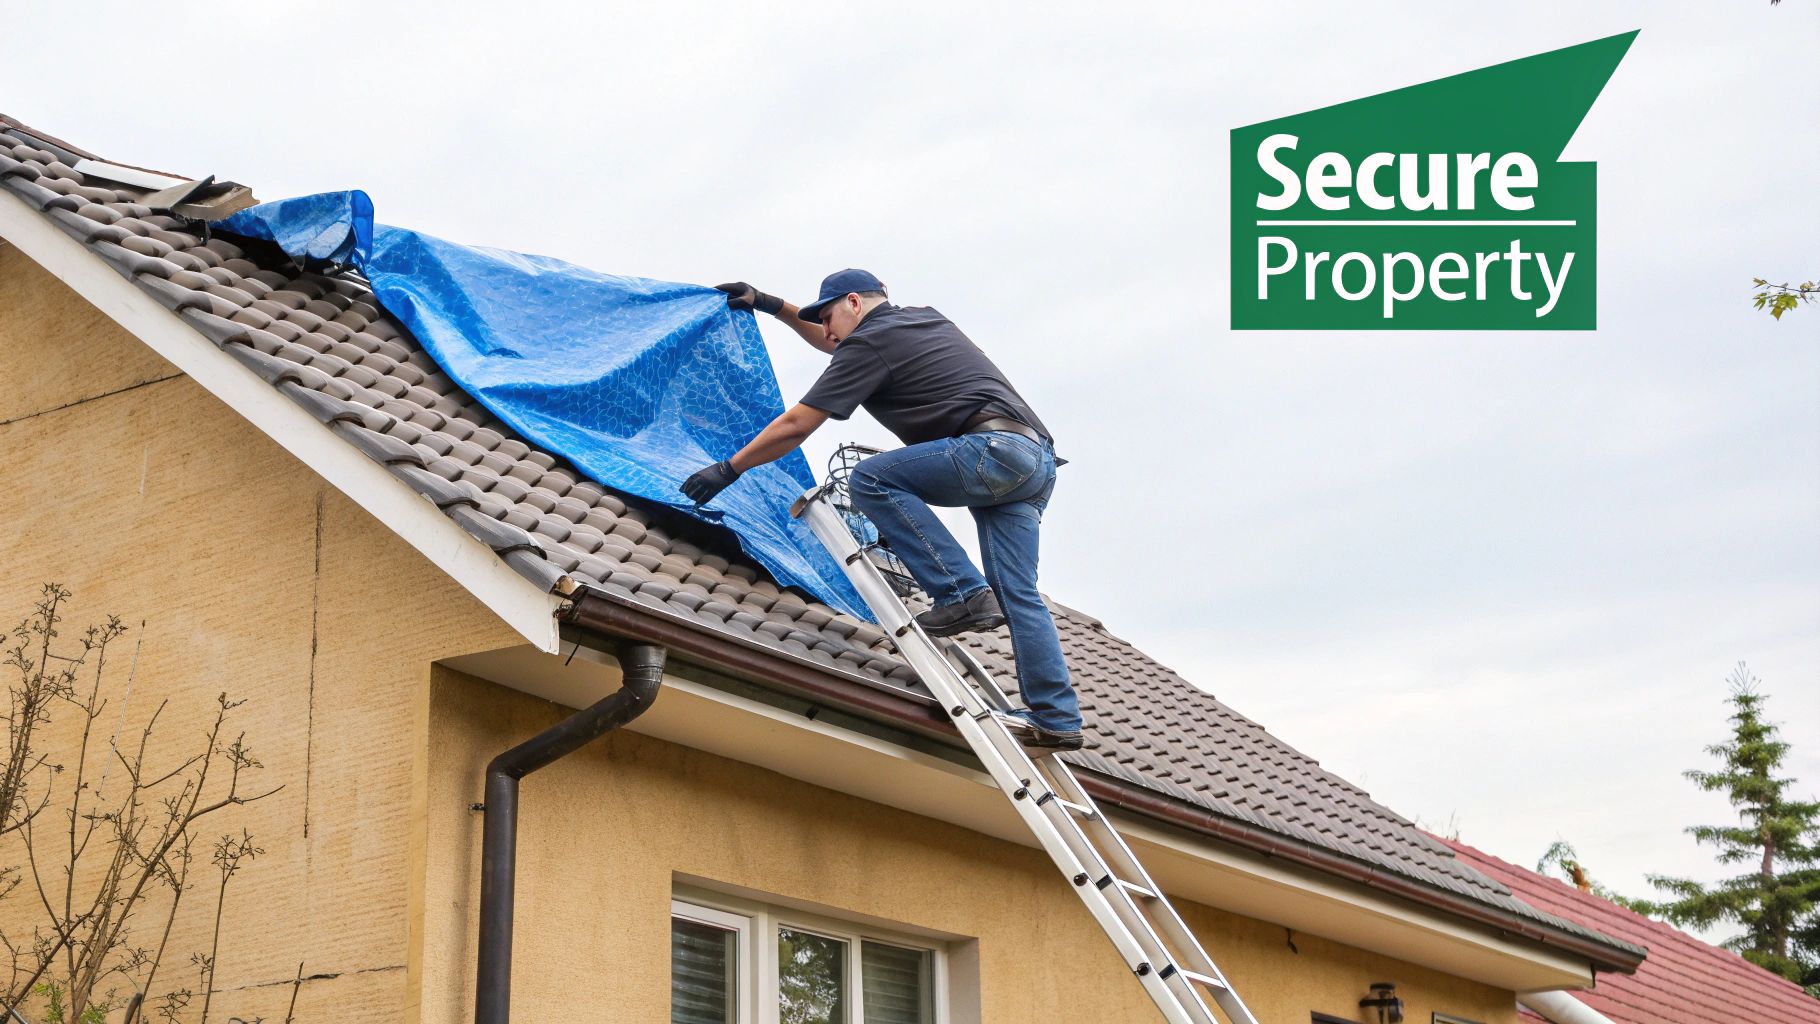
Once you know everyone is safe and the scene is secure, your focus can shift to protecting what's left of your property. This isn't just a good idea; it's something your insurance policy expects. It's called your "duty to mitigate damage," which just means taking reasonable steps to keep a bad situation from getting worse.
Think of it this way: if a storm blows out a window or puts a hole in your roof, you need to board it up or throw a tarp over it. Taking that simple step can prevent thousands of dollars in additional water damage, and it shows your insurer you're acting in good faith.
Your First Actions Matter
Moving quickly and deliberately right after the event can have a huge impact on your claim's outcome. Here’s what to do in those critical first hours:
- Stick to Temporary Fixes: Your goal is simply to prevent more damage. Shut off the main water valve if a pipe bursts. Cover broken furniture with plastic sheets. Don't start any permanent repairs until the insurance adjuster has seen the damage.
- Keep Every Single Receipt: If you run to the hardware store for tarps, plywood, or cleaning supplies, save the receipts. These expenses are usually reimbursable as part of your final claim settlement.
- Call Your Insurer or Agent: Get the ball rolling by notifying your insurance company as soon as you can. This first call, known as the First Notice of Loss (FNOL), officially opens your claim.
This visual guide breaks down those essential first moves, putting safety first before securing the property and starting your documentation.
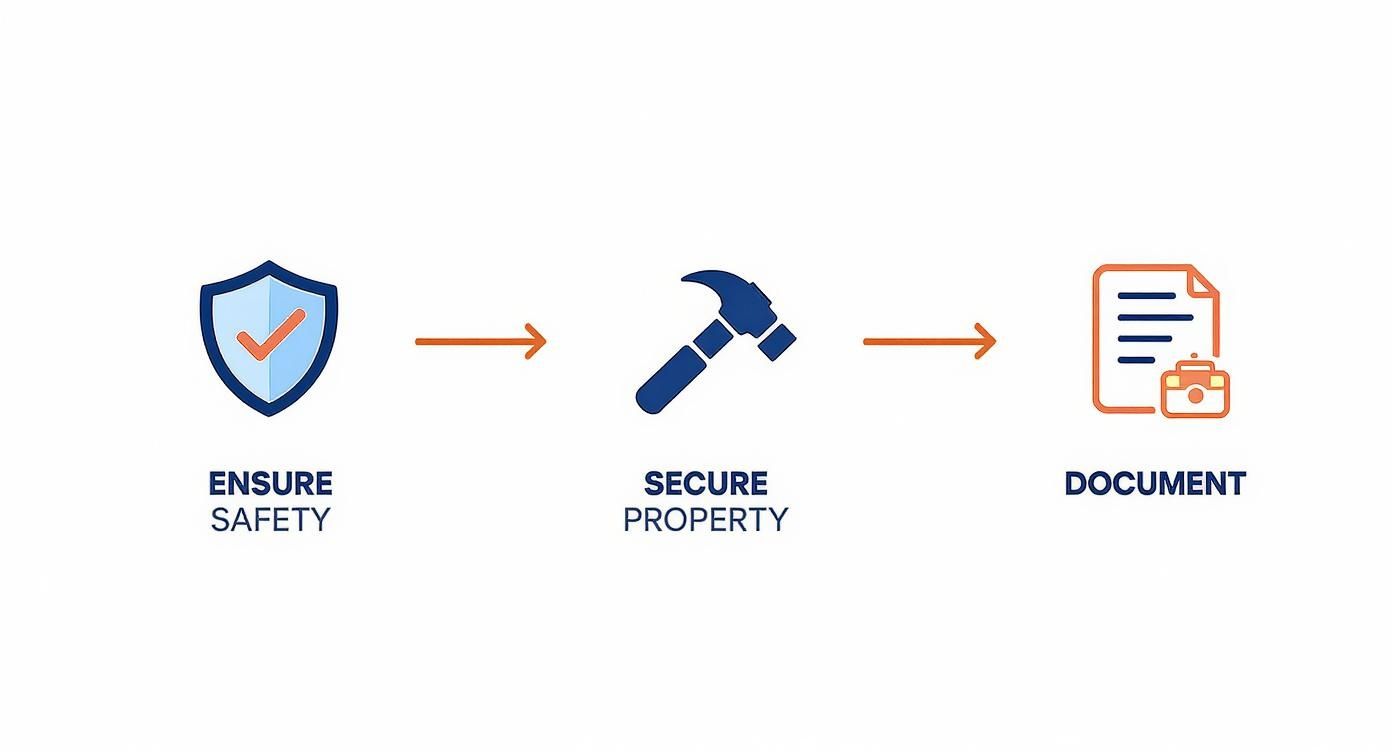
Following this order helps you stay grounded and organized, building a strong case from the very beginning.
Start Documenting Before You Touch Anything
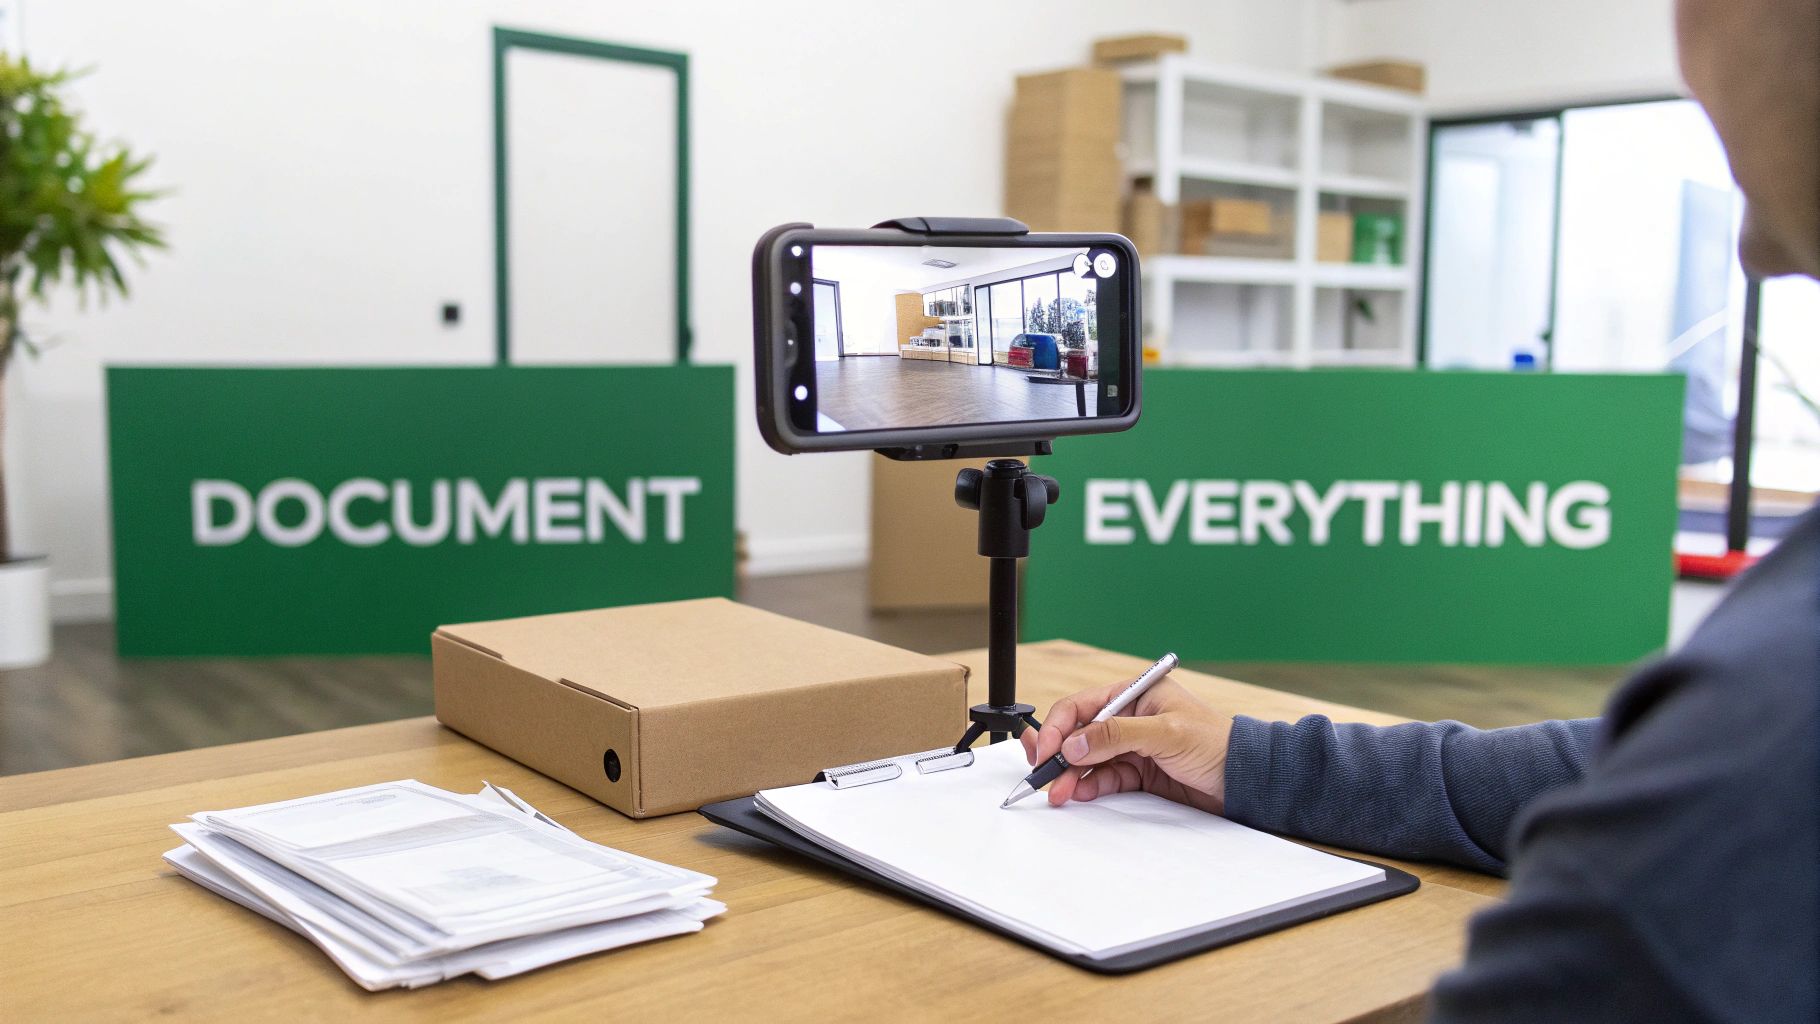
Before you move a single piece of debris, grab your smartphone. Start taking pictures and videos of everything. You want wide shots of each room to establish context, but you also need close-up shots of specific damaged items. You can't have too much evidence here—take hundreds of photos if you need to.
Your initial, unaltered photos are your most powerful tool. They provide a clear, unbiased record of the loss before any cleanup or repairs begin, making it much harder for an insurer to dispute the extent of the damage later on.
This step is especially critical after a natural disaster, which always leads to a massive flood of claims. Insured losses from natural catastrophes recently hit over $105 billion worldwide in just nine months, with events like major wildfires in the U.S. accounting for billions. When claim volumes are that high, your detailed, immediate proof is what makes your case stand out.
Things like storm damage can be particularly complex. For example, understanding the ins and outs of a hail damage roof insurance claim can prepare you for that very specific battle. Your detailed visual evidence is what helps your adjuster see the full picture and process your claim accurately.
Creating Undeniable Proof of Your Losses
Once you’ve made sure everyone is safe and the immediate damage is contained, your focus needs to shift to building the case for your insurance claim. This isn't just about snapping a few photos—it's about methodically creating a detailed record of everything you've lost. Think of it as building an evidence locker that leaves zero room for doubt or interpretation.
Your goal is to paint a vivid "before and after" picture for the claims adjuster, someone who has never set foot on your property. Your evidence needs to tell the full story, making it impossible for the insurance company to downplay the severity of the damage.
The Power of a Narrated Video Tour
Before you touch or move a single thing, grab your smartphone and start a video tour. Walk slowly through every affected room, and just as importantly, narrate what you’re seeing out loud. This commentary provides context that silent videos or still photos just can't match.
For instance, don't just point the camera at a water-stained ceiling. Say something like, "Okay, this is the living room. You can see the water stain is about six feet across and still dripping. The drywall is physically sagging, and the paint is peeling right off. This is directly under the master bathroom upstairs."
This simple act turns your video from a passive recording into a guided tour of the disaster, connecting the dots for the adjuster and explaining the impact in real-time.
Mastering Your Photo Documentation
After you've completed your video walkthrough, it's time to switch to still photos. You'll want a mix of different shots to give the adjuster a complete and layered view of the damage.
- Wide-Angle Shots: From each corner of the room, take a photo that captures the entire space. This shows the overall scene and how different damaged areas relate to each other.
- Medium Shots: Zoom in on specific items, like a ruined sofa or a section of buckled flooring, to highlight the major damage.
- Close-Up Shots: Get right up close to capture critical details. Think model numbers on appliances, cracks in the foundation, or the specific texture of smoke damage on a wall.
These layers of visual proof build an undeniable case. The wide shot shows the flooded basement, the medium shot focuses on the ruined furnace, and the close-up captures its rusted-out serial number plate.
An adjuster might review dozens of claims in a single day. Your organized, multi-angle photos make their job easier and your claim harder to dispute. Clear evidence leads to faster and fairer evaluations.
Building Your Master Inventory List
Now comes the part that requires some patience: creating a comprehensive list of every single item that was damaged or destroyed. It can feel tedious, but this step is absolutely critical for getting reimbursed for your personal belongings. A vague list like "living room furniture" just won't work.
You need to get specific. The more detail you provide, the more credible your inventory becomes. In many cases, a professional inspection is essential for documenting the full scope of the loss, especially when there are potential safety issues from plumbing leaks and water damage, as hidden problems can drastically increase a claim's value.
Here's the level of detail you're aiming for:
- Item Description: (e.g., Samsung 65-inch 4K Smart TV)
- Brand & Model: (Samsung, QN65Q80A)
- Approximate Age/Purchase Date: (Bought June 2021)
- Original Cost: ($1,499)
- Estimated Replacement Cost: ($1,299 today)
This level of detail is exactly what your adjuster needs to accurately calculate the value of your losses. To better prepare, it helps to understand the ins and outs of your policy's home insurance personal property coverage before you even start your list.
To help you stay organized, here's a quick checklist of the documentation you'll want to gather.
Essential Documentation Checklist for Your Claim
This table summarizes the critical items you should collect. Having these ready will make the entire process smoother and help ensure you receive a fair settlement.
| Document Type | Purpose | Key Details to Include |
|---|---|---|
| Video Tour | Provides an initial, narrated overview of the entire scene before anything is moved. | Room-by-room walkthrough with verbal commentary on the damage and its impact. |
| Photographs | Creates detailed, layered visual proof of both the structure and personal property. | Wide, medium, and close-up shots of all damaged areas and items. |
| Inventory List | Itemizes every single damaged or destroyed belonging for valuation. | Description, brand, model, age, original cost, and replacement cost for each item. |
| Proof of Value | Substantiates the costs and ownership claims made in your inventory. | Receipts, bank/credit card statements, appraisals, owner's manuals, or even old photos. |
Having these four pillars of evidence in place puts you in the strongest possible position when you file.
Unearthing Proof of Value
Finally, you have to back up your inventory list with proof. The adjuster can't just take your word for it that you owned a $1,500 television. It's time to become a financial detective and hunt down the documents that support your claim.
Start digging through your records. You're looking for things like:
- Original Purchase Receipts: Check your email inbox for online order confirmations (search for retailers like Amazon, Best Buy, etc.) and go through any files where you keep paper receipts.
- Credit Card or Bank Statements: If you can't find a receipt, a statement showing the purchase from a specific store on a specific date is the next best thing.
- Appraisals: For high-value items like jewelry, art, or collectibles, an official appraisal is the gold standard for proving value.
- Owner's Manuals & Old Photos: Don't discount these! Even a family photo showing the item in your home before the disaster can help establish ownership and its prior condition.
This complete package—video, photos, a granular inventory, and financial records—is the foundation of a rock-solid property damage claim. It shifts the dynamic, turning your claim from a simple request into a well-supported, evidence-based case for the full and fair compensation you deserve.
How to Officially Start Your Insurance Claim
You’ve stopped the immediate damage and documented the scene. Now it’s time to get the ball rolling with your insurance company. This first official step is what the industry calls a "First Notice of Loss," or FNOL, and it's the moment your claim truly begins. How you handle this first conversation can set the tone for everything that follows.
Don't underestimate how busy insurance carriers are. In a single recent quarter, Texas alone saw over 160,000 insurance claims, making up nearly 20% of all claims filed nationwide, a surge largely driven by extreme weather. This is a powerful reminder that filing promptly and accurately is your best strategy for getting your claim the attention it deserves.
Making the First Contact
Most insurers give you a few different avenues for reporting a claim. The right one for you often comes down to personal preference and how urgent the situation feels.
- Pick up the phone: This is still the most direct method. You get to speak to a real person, explain what happened in your own words, and get immediate answers to your initial questions. For serious damage, this is usually the best first move.
- Use the online portal or mobile app: Nearly every major carrier has a user-friendly online system. It's a great way to file because you can often upload your photos and documents right then and there, creating an instant digital paper trail.
- Call your agent: Your local agent can be your best advocate. They know your policy inside and out and can offer personalized advice or even start the claim for you. It adds a human touch that many people find reassuring.
No matter which path you choose, have your policy number handy. It's the one piece of information that ties everything back to your coverage.
What to Say—and What Not to Say
That first conversation is critical. Your mission is to be clear, factual, and straight to the point. Stick to what you know for certain, and resist the urge to guess about the cause of the damage or how much repairs might cost.
Think of it like giving a simple, factual report. Here's a framework you can adapt for your initial call:
"Hello, I'm [Your Name], and my policy number is [Policy Number]. I need to report property damage at [Your Address]. On [Date], a pipe burst in our upstairs bathroom. It's caused significant water damage to the bathroom floor and the living room ceiling directly below it. We've stopped the leak and have already taken photos of the damage."
This script is perfect because it delivers the essentials—who, what, where, and when—without any speculation. You’ve simply stated the facts and shown that you've taken responsible steps to prevent more damage. Avoid admitting fault or guessing with phrases like, "I guess the pipe was just old," as this can unintentionally complicate your claim down the line.
Life After the First Call
Once you've made that report, you're officially in the system. The insurance company will give you a claim number, which will be your unique ID for this entire event. Keep this number somewhere safe; you'll need it for every phone call, email, and document you submit from here on out.
Soon after, you’ll be assigned a claims adjuster. This person is your main point of contact. Their job is to investigate your loss, assess the extent of the damage, and ultimately determine the settlement amount. For a deeper dive into what to expect from your adjuster and the next stages, our guide on the homeowner insurance claim process is a great resource.
The Non-Negotiable: Your Communication Log
Starting with your very first phone call, you need to keep a claim diary. This is single-handedly one of the most powerful tools at your disposal. It doesn’t have to be anything elaborate—a simple notebook or a running Word document is all you need.
For every single interaction, jot down these key details:
- Date and Time: Be specific about when you spoke.
- Who You Spoke With: Get their full name and title (e.g., "Jane Doe, Senior Claims Rep").
- How You Communicated: Was it a phone call, an email, or a message through their portal?
- Summary of Discussion: A few bullet points on what was said, what you asked, and what they told you.
- Action Items: Note any next steps—for you or for them—and any deadlines they gave you.
This log becomes your organized, chronological record. If a dispute pops up weeks from now about what was promised, your notes will be an invaluable source of truth. It’s the best way to keep everyone accountable.
Working with the Insurance Adjuster
The insurance adjuster’s visit is a pivotal moment in your property damage claim. This person is the one who puts a dollar amount on your loss, so how you handle this interaction is incredibly important. Their job is to investigate the damage for the insurance company, confirm what you’ve claimed, and figure out the repair costs based on your policy’s terms.
It’s a simple fact: while most adjusters are professional, their goal is to settle the claim efficiently and within the insurer's budget. This means you can't be a bystander in your own claim. You have to be prepared and engaged, because the effort you put in now can make a huge difference in the final settlement.
Preparing for the Adjuster's Inspection
When the adjuster comes to your property, your mission is to make their job as straightforward as possible while showcasing the complete picture of your damages. Never let them tour the property alone. You need to be there, guiding them through every single part of the damaged area.
Think beyond the obvious. A water spot on a ceiling is easy to see, but it’s up to you to point out the potential for soaked insulation, hidden mold, or warped joists above it. Have all your documentation ready—your photos, videos, and that detailed inventory list—neatly organized in a binder or a digital folder. This way, you’re not just telling them about the damage; you’re presenting a solid, evidence-based case from the get-go.
Navigating the Inspection and Conversation
During the walkthrough, your organized evidence is your most powerful tool. As you lead the adjuster from room to room, you can hold up your photos to show what the damage looked like right after it happened. This is especially useful if you had to do some emergency cleanup for safety reasons.
Keep the conversation professional and cooperative. Getting confrontational won't do you any favors. It's much better to frame the meeting as a joint effort to document the facts, with your role being to provide every piece of information they need to get it right.
Pro Tip: Do not throw anything away until the adjuster has seen it and you have their permission in writing. Tossing a ruined sofa or a fried appliance before it’s officially documented is a surefire way to have that item denied in your claim.
Stick to the facts when you talk. Answer questions honestly, but never guess or speculate. If the adjuster asks why a pipe burst, it's far better to say, "I'm not sure, we just discovered the leak," than to start guessing about its age or a possible defect. Stick to what you know for a fact.
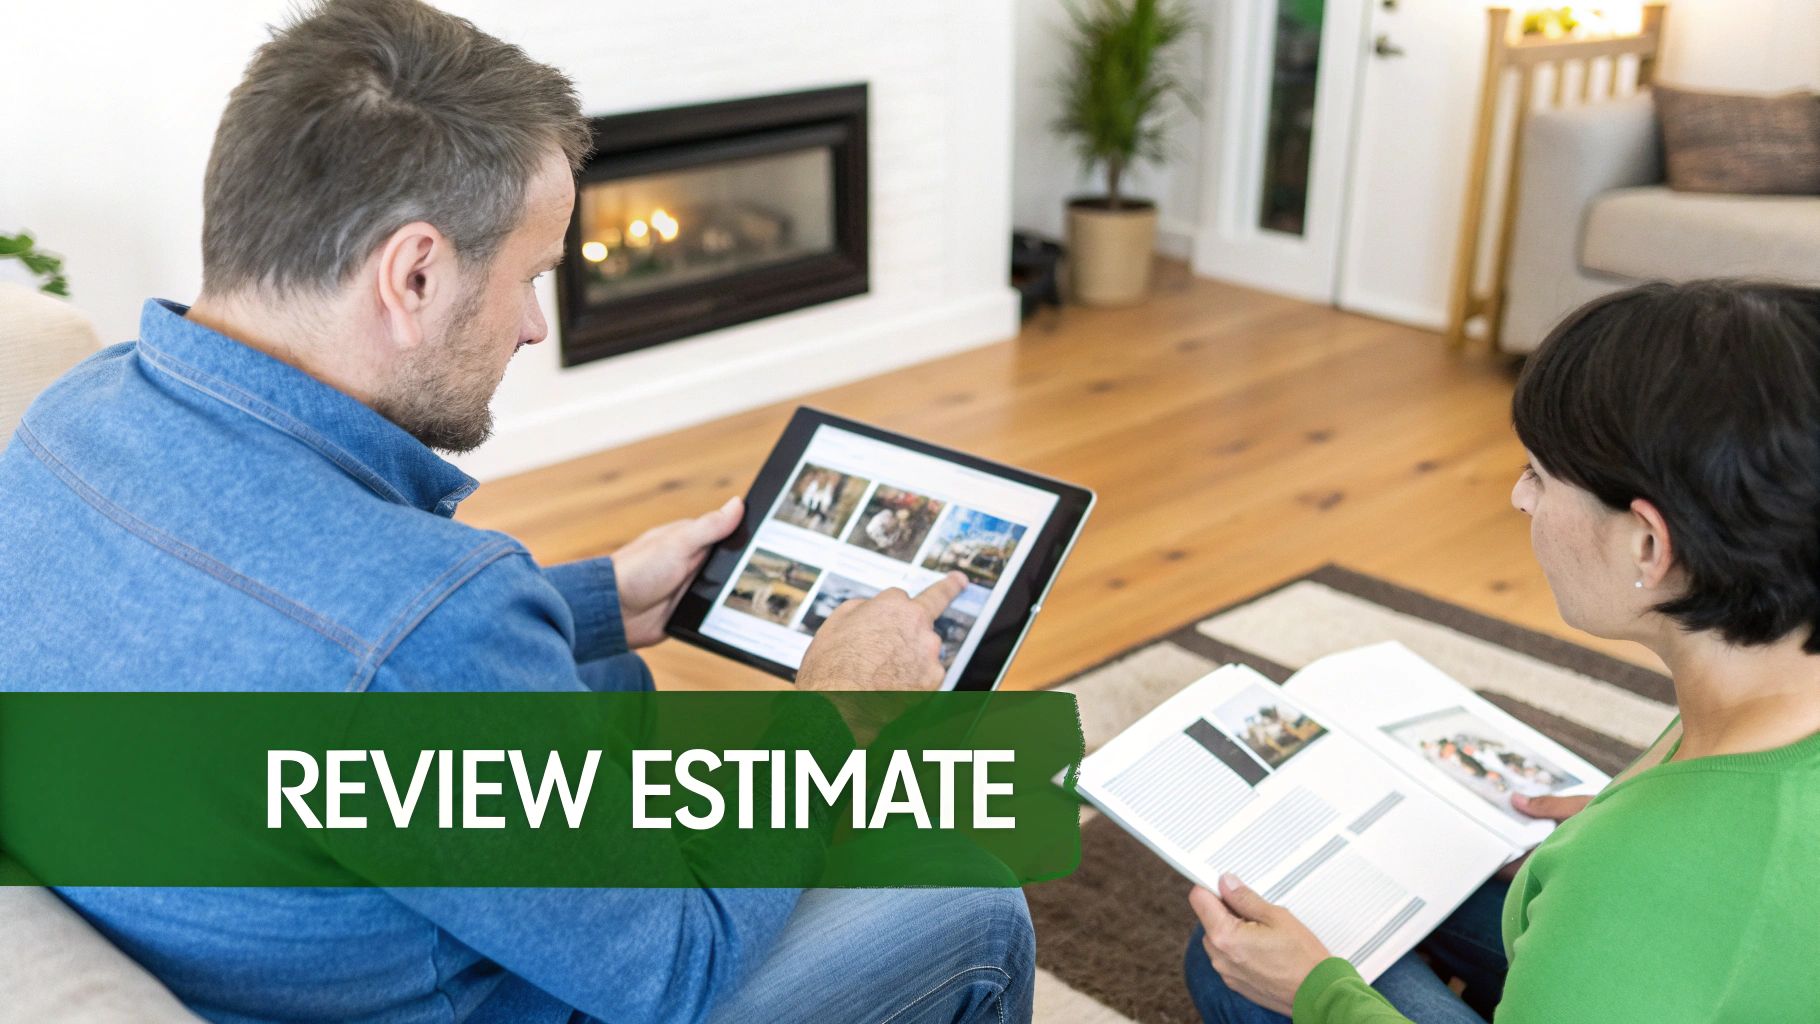
Reviewing the Adjuster's Report and Negotiating a Fair Settlement
After the inspection, the adjuster will put together a "scope of loss" report. This is a detailed breakdown of the necessary repairs and what they estimate it will cost. This document is the foundation for their settlement offer, and you should never, ever accept the first offer without scrutinizing it.
When you get that report, sit down and compare it line-by-line against your own inventory and the quotes you’ve gotten from your own contractors. Be on the lookout for common oversights and discrepancies:
- Missing Items: Did they forget to include the cost to prime and paint the new drywall? What about debris removal?
- Incorrect Measurements: Is their square footage for the damaged hardwood floor correct? Measure it yourself to be sure.
- Low-Quality Materials: Are they pricing for cheap laminate when you had high-end engineered wood?
- Unrealistic Labor Rates: Do their labor costs reflect the actual rates charged by reputable contractors in your area?
If you spot problems or the offer just seems too low, it’s time to negotiate. This is where negotiating with insurance companies becomes a critical skill. Calmly and professionally, you need to present your counter-evidence. Send the adjuster a written response, attaching your contractor's estimates and clearly explaining why their assessment doesn't cover the true cost of restoration. A logical, well-documented argument is always more persuasive than an emotional plea.
Understanding Your Settlement and Overcoming Disputes
Getting that settlement offer from your insurance company can feel like the finish line. But really, it’s the beginning of the most critical phase. The numbers and terms on that document can be a bit overwhelming, but you have to understand them to make sure you’re getting what you need to put things back together.
This is where you shift gears from documenting what you lost to analyzing the dollars and cents of your recovery.
Don't be surprised if the initial check feels small. It's often just the first payment, not the total settlement. You need to know what those figures represent and what comes next before you cash anything.
Decoding Your Settlement Offer
You're going to see two very important acronyms on your settlement paperwork: ACV and RCV. The difference between them is huge, and it directly impacts your wallet.
- Actual Cash Value (ACV): This is what your damaged property was worth the moment before the loss. It accounts for depreciation—basically, the age and wear-and-tear. Think of it as the garage sale price for your five-year-old couch, not what you need to buy a new one.
- Replacement Cost Value (RCV): This is the good stuff. RCV is the full amount needed to buy a brand-new, comparable item today, with no deduction for depreciation. This is the coverage that makes you whole again.
Here’s how it usually works: your insurer will first pay you the ACV. The gap between that initial payment and the full RCV is something called recoverable depreciation. You only get that second check after you’ve actually repaired or replaced the item and sent the receipts to the insurance company as proof.
What to Do When the Offer Feels Low
It’s completely normal to look at the first offer and think, "This isn't enough." You're probably right, especially with how much costs have been rising.
Consider this: construction cost inflation soared by 35.64% from 2020 to mid-2022. That’s a massive jump. Your settlement needs to reflect today's prices for materials and labor, not what things cost two years ago. This Verisk natural catastrophe report shows just how much economic trends are affecting insurance losses.
If the numbers don't add up, your first move is to question the offer in writing. Don’t get emotional; just politely ask the adjuster to provide a line-by-line explanation of how they arrived at their valuation. Then, compare it against the detailed estimates you got from your own contractors.
A low offer isn't always a final "no." Often, it’s an opening bid in a negotiation. A well-supported, evidence-based appeal can successfully increase your settlement amount.
Your response should be calm, professional, and full of facts. Point out specific problems in their estimate—maybe they got the square footage wrong, missed some damages entirely, or are using outdated labor rates for your area. Back up every single one of your points with your contractor's bid. For a deeper dive into this part of the process, our guide on how to negotiate an insurance settlement has some great strategies.
Navigating Claim Denials and Disputes
Getting a flat-out denial can feel like a punch to the gut, but it doesn't have to be the end of the story. You have the right to appeal.
Your first step is to demand a formal denial letter. The insurance company is required to give you one, and it must spell out the exact reason for the denial, referencing the specific language in your policy they believe supports their decision.
Once you have that letter, you can start building your case to counter their reasoning.
- Write a Formal Appeal: Clearly state that you are appealing the denial of your claim (always include your claim number). Go through their reasons one by one and explain why you disagree.
- Bring New Evidence: This is your chance to bring in the heavy hitters. Attach any documentation that proves your point, like an independent contractor’s report, new photos, or an opinion from an expert (like an engineer or a roofer).
- Go Up the Ladder: If the adjuster won't budge, ask to speak with their claims manager or a supervisor. Sometimes, a fresh set of eyes from someone higher up the chain of command is all it takes to get a different outcome.
If you’ve exhausted all internal appeals, your next stop is your state's department of insurance. It's a government agency that oversees insurers, and they can help mediate the dispute. And if that still doesn't work, it might be time to talk to a public adjuster or an attorney who lives and breathes property damage claims. They can be your best advocates for getting the settlement you’re truly owed.
Answering Your Top Questions About Property Damage Claims
After you've dealt with the immediate shock of property damage, the questions start rolling in. It's a confusing process with a lot of moving parts and, frankly, some pretty specific rules. Let’s walk through some of the most common questions we get from clients who find themselves in this exact situation.
How Long Do I Really Have to File a Claim?
This is a big one, and the answer has two parts. First, there's the legal deadline, called the statute of limitations. This is set by your state and can be anywhere from one to several years after the damage occurred.
But don't focus on that. What matters more is what your insurance policy says. Nearly every policy requires you to notify them "promptly" or "as soon as reasonably possible." If you wait weeks or months, you’re giving the insurance company a legitimate reason to question your claim or deny it altogether.
Expert Tip: Report the damage immediately. You can always follow up with the detailed inventory later, but getting the clock started is the most important first step.
Should I Bring in a Public Adjuster?
Your insurance company will send their own adjuster, but you have the option to hire your own—a public adjuster. This is a professional you pay to represent you. They handle the paperwork, document everything, and negotiate directly with the insurer for you, typically for a percentage of the final payout.
Is it worth it? For a massive, complex claim like a fire that destroys a home or business, a good public adjuster can be a lifesaver. They lift a huge weight off your shoulders and have the expertise to maximize your settlement. For a smaller, cut-and-dry claim like a minor leak, you can probably handle it yourself without the extra cost.
What’s the Difference Between Actual Cash Value and Replacement Cost?
These two terms are at the heart of how much money you’ll actually see, so it's critical to know the difference.
- Actual Cash Value (ACV): Think of this as the "used" value. It’s what your damaged item was worth right before the incident, factoring in its age and condition (depreciation).
- Replacement Cost Value (RCV): This is the good stuff. It’s what it costs to buy a brand new, similar item today, with no deduction for wear and tear.
A lot of policies work in two stages. First, they’ll cut you a check for the ACV. Once you actually go out, buy the replacement item, and send them the receipt, they’ll pay you the difference—the "recoverable depreciation."
What Can I Do if My Claim Gets Denied?
A denial letter feels final, but it’s often just the start of a new conversation. Your first step should always be to get the denial in writing. Insist on a formal letter that explains exactly why they denied it and points to the specific language in your policy they're using to back it up.
Once you have that, you can start building your appeal. Write a formal response that tackles their reasoning head-on, providing your own evidence (photos, reports, receipts) to make your case. If you're running into a wall, our guide on the common reasons behind an insurance claim denial can give you some insight. If the appeal doesn't work, your next steps could be filing a complaint with your state’s insurance department or speaking with an attorney.
Going through the claims process is a marathon, not a sprint. You don't have to navigate it alone. The team at Wexford Insurance Solutions is here to make sure you have the right protection in place long before you ever need to file a claim. Visit us at https://www.wexfordis.com to see how we can help safeguard what you've worked so hard to build.
 Decoding Private Plane Maintenance CostsWhat Does a Business Owners Policy Cover? A Clear Guide


