

When the first chill hits the air, it's a signal to start thinking about protecting your home's plumbing. Simply put, winterizing means draining your outdoor systems, insulating any pipes in unheated areas, and cutting off the water supply to your exterior faucets before a deep freeze sets in. Think of it as essential fall maintenance that saves you from the nightmare of burst pipes, catastrophic water damage, and shockingly high repair bills.
Why Winterizing Your Plumbing Is a Critical Home Investment
Getting your plumbing ready for winter isn't just another chore on your to-do list; it's one of the smartest financial decisions you can make as a homeowner. Skipping this step is like gambling with your house as the stakes, and the odds are not in your favor.
It all boils down to basic physics. When water freezes, its volume expands by about 9%. Inside a rigid pipe, that expansion creates an incredible amount of pressure—far more than most pipes are designed to handle. The pipe cracks, but the real disaster often waits until the thaw, when the ice melts and water gushes into your walls, ceilings, and floors.
The Staggering Cost of Inaction
It's easy to underestimate just how much damage a single burst pipe can cause. But the reality is that over 250,000 households in the U.S. face this exact disaster every single year.
In 2022, frozen pipes were behind nearly 25% of all water damage claims filed by homeowners, with the average repair bill climbing to a jaw-dropping $10,000 per incident. And that’s just for the repairs—it doesn't include the cost of a hotel, replacing ruined furniture, or the immense stress of having your life turned upside down. These aren't just numbers; they're real families dealing with unexpected and entirely preventable chaos.
A small investment of time and a few bucks for faucet covers and pipe insulation pales in comparison to the five-figure repair bills that can result from one freezing night. Prevention is your best defense.
The whole point of this guide is to show you exactly how to winterize plumbing pipes to prevent damage. By taking these proactive steps, you're not just protecting your pipes; you're protecting your home's value and your own peace of mind all winter.
More Than Just Pipes
The benefits of a properly winterized home go far beyond just avoiding a flood. It makes your home safer and more efficient, too.
- Lower Energy Bills: When you insulate your hot water pipes, you stop heat from escaping as the water travels to your faucet. Your water heater doesn't have to work as hard, which translates directly to savings on your utility bills.
- Preventing Secondary Damage: The water from a burst pipe is just the beginning. The lingering moisture quickly leads to mold growth, a serious health hazard that requires its own expensive remediation process.
- Smarter Insurance: While your policy might cover a sudden pipe burst, insurance companies expect you to take reasonable steps to prevent it. A good track record of preventative maintenance can help you avoid claims entirely. Knowing how to protect your home from predictable risks is a big part of learning how to save on homeowners insurance.
Ultimately, winterizing your plumbing is a non-negotiable investment in your home's health and your financial security. The following sections will give you a clear roadmap to get your home buttoned up and ready before the first frost arrives.
Your Essential Outdoor Plumbing Winterization Checklist
Before you even think about the pipes inside your walls, your winterization journey has to start outside. This is where your plumbing is most exposed and, frankly, most vulnerable. Think of your outdoor pipes and faucets as the front line—securing them properly isn't just a suggestion, it's a non-negotiable part of your fall routine.
First things first, you need to know where your main water shut-off valve is and confirm it actually works. This is a critical piece of homeowner knowledge for any plumbing emergency, not just for winter prep. You’ll usually find it in the basement, a crawl space, or a utility closet right where the main water line enters the house.
Give it a test run. Turn the valve clockwise until it stops, then go turn on a faucet somewhere in the house. If the water trickles to a stop, you're golden. If it keeps running, you’ve got a faulty valve, and that’s a problem you need a plumber to fix before an emergency strikes.
This simple diagram shows exactly what's at stake. It's a chain reaction: trapped water freezes, it expands with incredible force, and the pipe gives way.
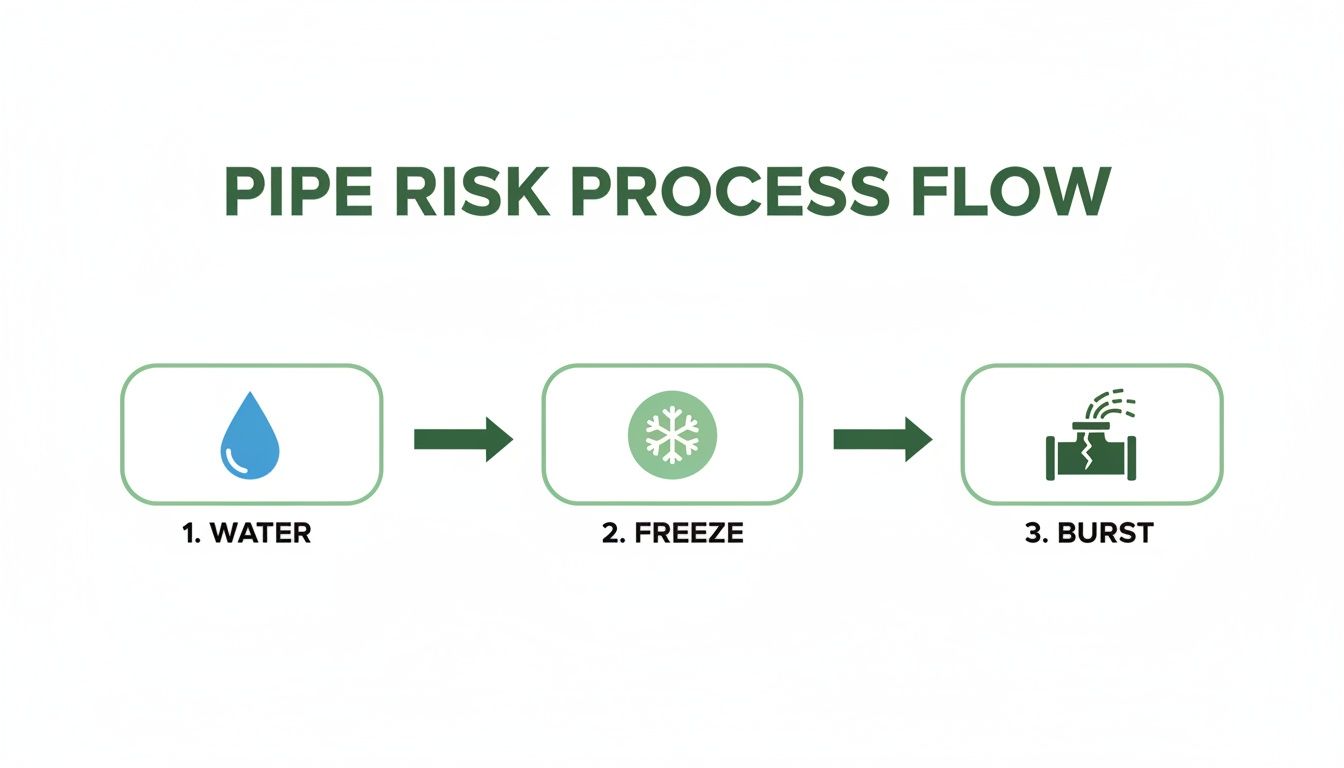
What looks like a simple pipe can quickly become the source of major water damage once a thaw sets in.
Disconnect Hoses and Secure Outdoor Faucets
I can’t tell you how many costly winter repairs I’ve seen that started with one simple mistake: leaving a garden hose attached to an outdoor spigot (also called a hose bib). When that hose stays connected, it traps water inside the faucet and the pipe that runs through your foundation. That water has nowhere to go when it freezes, creating a perfect recipe for a burst pipe right inside your wall.
Here’s the simple, but crucial, drill:
- Disconnect Everything: Get out there and unscrew every single garden hose, splitter, and timer from all your outdoor faucets. No exceptions.
- Drain and Store: Let the hoses drain completely—laying them on a downward slope works best. Once they’re empty, coil them up and get them into a garage or shed where they’re protected from the harsh winter weather.
- Find the Interior Shut-Off: For every outdoor faucet, there’s usually a corresponding shut-off valve inside your house. Find it (often in the basement ceiling along the exterior wall) and turn it clockwise to close it.
- Drain the Stub Pipe: Head back outside and open the spigot you just shut off from the inside. This allows that little bit of water trapped between the two valves to drain out completely. Just leave it open for the winter.
For a little extra peace of mind, grab a foam faucet cover. You can find them at any hardware store for less than $5. It's a cheap and effective way to insulate the faucet, blocking freezing winds and adding a final layer of protection against a deep freeze.
Winterizing Your Irrigation or Sprinkler System
If you have an in-ground sprinkler system, you’ve got a bigger job on your hands—but it’s one you absolutely cannot skip. Those irrigation lines are often buried just a few inches down, making them prime targets for freezing and cracking.
While some homeowners try to tackle this themselves, the only truly effective method is a "blowout," and that's usually a job for the pros.
- Shut Down the Supply: First, locate the main shut-off valve for the irrigation system itself, which is separate from your home’s main valve, and turn it off.
- Attempt a Manual Drain: Some systems have manual drain valves you can open. It's better than nothing, but gravity alone will never get all the water out of the low spots in the lines.
- The Professional Blowout: This is the industry-standard for a reason. A pro will hook up a high-volume air compressor and systematically blow compressed air through each zone. This forces every last drop of water out of the pipes, sprinkler heads, and valves. Using the wrong equipment (like a small garage compressor) can seriously damage the system, so it's wise to hire this one out.
Ignoring your sprinkler system is a surefire way to face cracked pipes and broken heads, a repair bill that can easily run into the hundreds, if not thousands, of dollars come spring.
These outdoor tasks are the foundation of any solid winterization plan and should be at the top of every home maintenance checklist. Once the outside is secure, you can confidently turn your attention to protecting the plumbing inside your home.
Protecting Indoor Pipes in Vulnerable Areas
Now that you've secured everything outside, it’s time to head indoors. Some of the biggest plumbing disasters I’ve seen happen in the spaces we rarely think about—the unheated or under-heated corners of a home.
Take a moment to consider the coldest spots in your house. The usual suspects are basements, crawl spaces, attics, and garages. Pipes that run along the inside of an exterior wall are also notoriously vulnerable. They have very little standing between them and the brutal cold outside.
Identifying and Insulating At-Risk Pipes
First thing's first: you need to play detective. Grab a good flashlight and start tracing your plumbing lines through these chilly zones. Pay close attention to any pipes that feel cold to the touch or have condensation on them. Those are your red flags and should be your top priority.
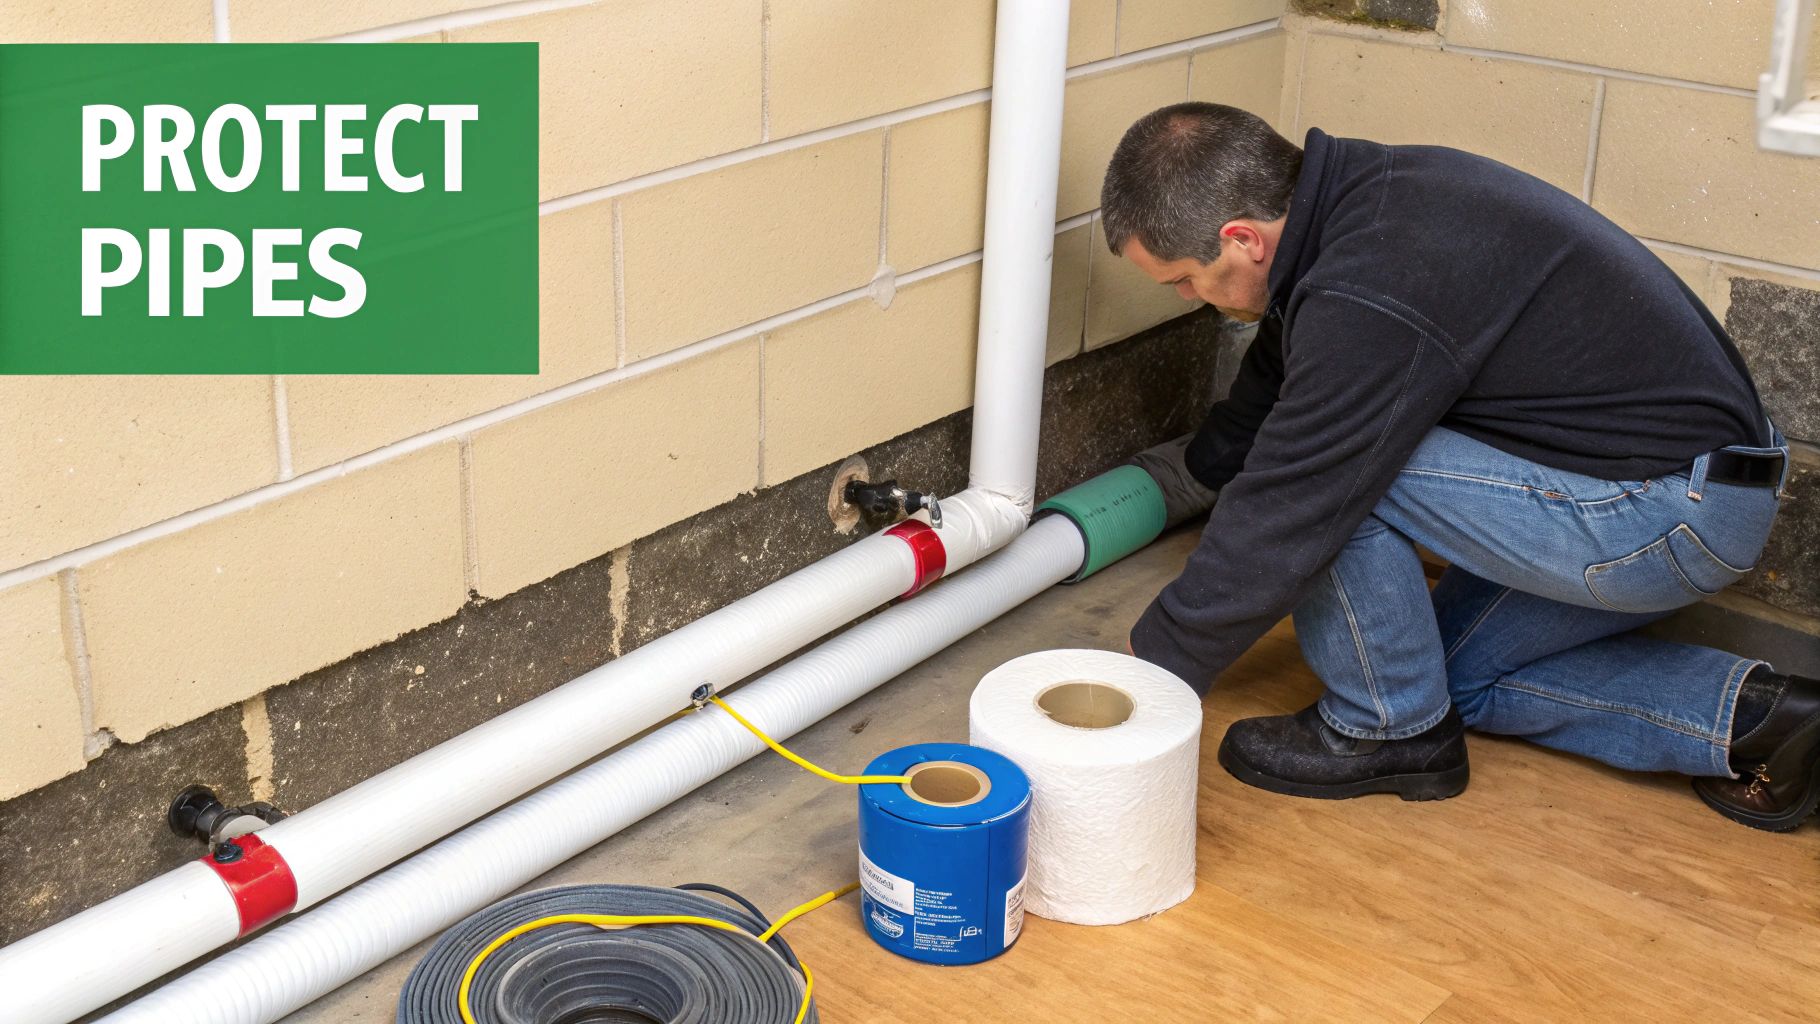
For protecting these pipes, you have two fantastic, DIY-friendly options: foam sleeves and electric heat tape. They each play a different, but equally important, role.
Foam Pipe Insulation:
- This is your frontline defense. These pre-slit foam tubes are incredibly easy to work with—they just snap right over your pipes.
- They’re perfect for long, straight runs of both hot and cold water lines in places that are cool but typically stay above freezing, like a basement or under a sink.
- The foam acts like a winter coat, slowing heat loss. On hot water pipes, it keeps water warmer for longer, and on cold water pipes, it provides a crucial thermal barrier against freezing.
Electric Heat Tape (or Heat Cable):
- Think of this as an active heating solution. It’s an electrical cable you wrap around a pipe that generates a steady, low-level warmth when plugged in.
- This is the heavy-hitter for pipes in truly frigid areas—think uninsulated crawl spaces, attics, or a detached garage where foam alone just won’t cut it.
- Many newer versions are self-regulating, so they automatically adjust their heat output based on the surrounding temperature. This saves energy and prevents overheating.
Properly insulating your plumbing isn't just about preventing a catastrophe; it’s a smart financial move. You can see your energy consumption drop by 10-20% during winter. An uninsulated hot water pipe can lose a staggering 25% of its heat over just 10 feet. A simple foam sleeve practically eliminates that waste.
Beyond Insulation: Sealing Air Leaks
Wrapping your pipes is critical, but it’s only half the story. If you’ve got arctic air blowing directly onto those pipes, even the best insulation can be overwhelmed. This is where sealing air leaks becomes a game-changer.
Go back through those vulnerable areas, but this time, hunt for drafts. Look for any gaps or cracks where cold air is getting in, especially around the foundation where utility lines and pipes enter the house. Use caulk for small cracks and expanding foam for bigger gaps. This simple step creates a much more stable environment, letting your insulation do its job effectively. For a garage, where pipes are often very exposed, bigger projects like insulating a garage roof can offer a powerful, extra layer of security.
A draft is your plumbing's worst enemy. A small, sealed crack can make the difference between a pipe that stays safe and one that bursts, causing thousands in damages. Never underestimate the power of a little caulk and weatherstripping.
Of course, even with the best preparation, surprises can happen. It’s always a good idea to know what your insurance policy covers before you actually need it. We have a full breakdown on whether homeowners insurance covers burst pipes right here.
Don't Forget Your Water Heater
Your water heater is the heart of your home’s plumbing system, and it needs some winter love, too. If it’s sitting in a cold basement or garage, it’s constantly losing heat to the surrounding air, forcing it to work harder just to keep the water at its set temperature.
That’s a huge, needless drain on your energy bill.
A specially designed insulation blanket for your water heater is one of the easiest and most cost-effective upgrades you can make. It can reduce standby heat loss by 25%-45%, which you’ll absolutely notice on your utility bills. It's a simple project that pays for itself in a single season.
Common Winterization Mistakes and How to Avoid Them
Even with the best intentions, it's easy to make a critical mistake when prepping your home for winter. I’ve seen it happen countless times—a simple oversight turns a winter wonderland into a water-logged disaster. Learning from these common missteps is far cheaper than dealing with the aftermath.
The number one, most frequent, and most costly error? Forgetting to disconnect garden hoses. It seems so small, but leaving a hose attached to an outdoor faucet (the hose bib) traps water inside the fixture and the pipe running through your foundation.
When that trapped water freezes, it expands with incredible force. The result is often a burst pipe inside your wall, a catastrophe you won't even know about until the spring thaw brings a flood.
The fix is incredibly simple: disconnect every single hose. Drain them completely, roll them up, and store them for the season. Afterward, find the interior shut-off valve for that faucet, turn it off, and then open the outside spigot one last time to let any remaining water trickle out.
Misjudging Your Thermostat Settings
Heading out for an extended vacation? It’s tempting to drop the thermostat way down to save a few bucks on heating. Many people set it to 50°F (10°C) or even lower, but this is a high-stakes gamble I’ve seen homeowners lose too many times.
A home’s temperature isn’t uniform. While the thermostat in your hallway might read 50°F, a drafty basement corner or a poorly insulated wall on the north side of the house can easily dip below freezing during a cold snap. That puts any pipes in those areas at extreme risk.
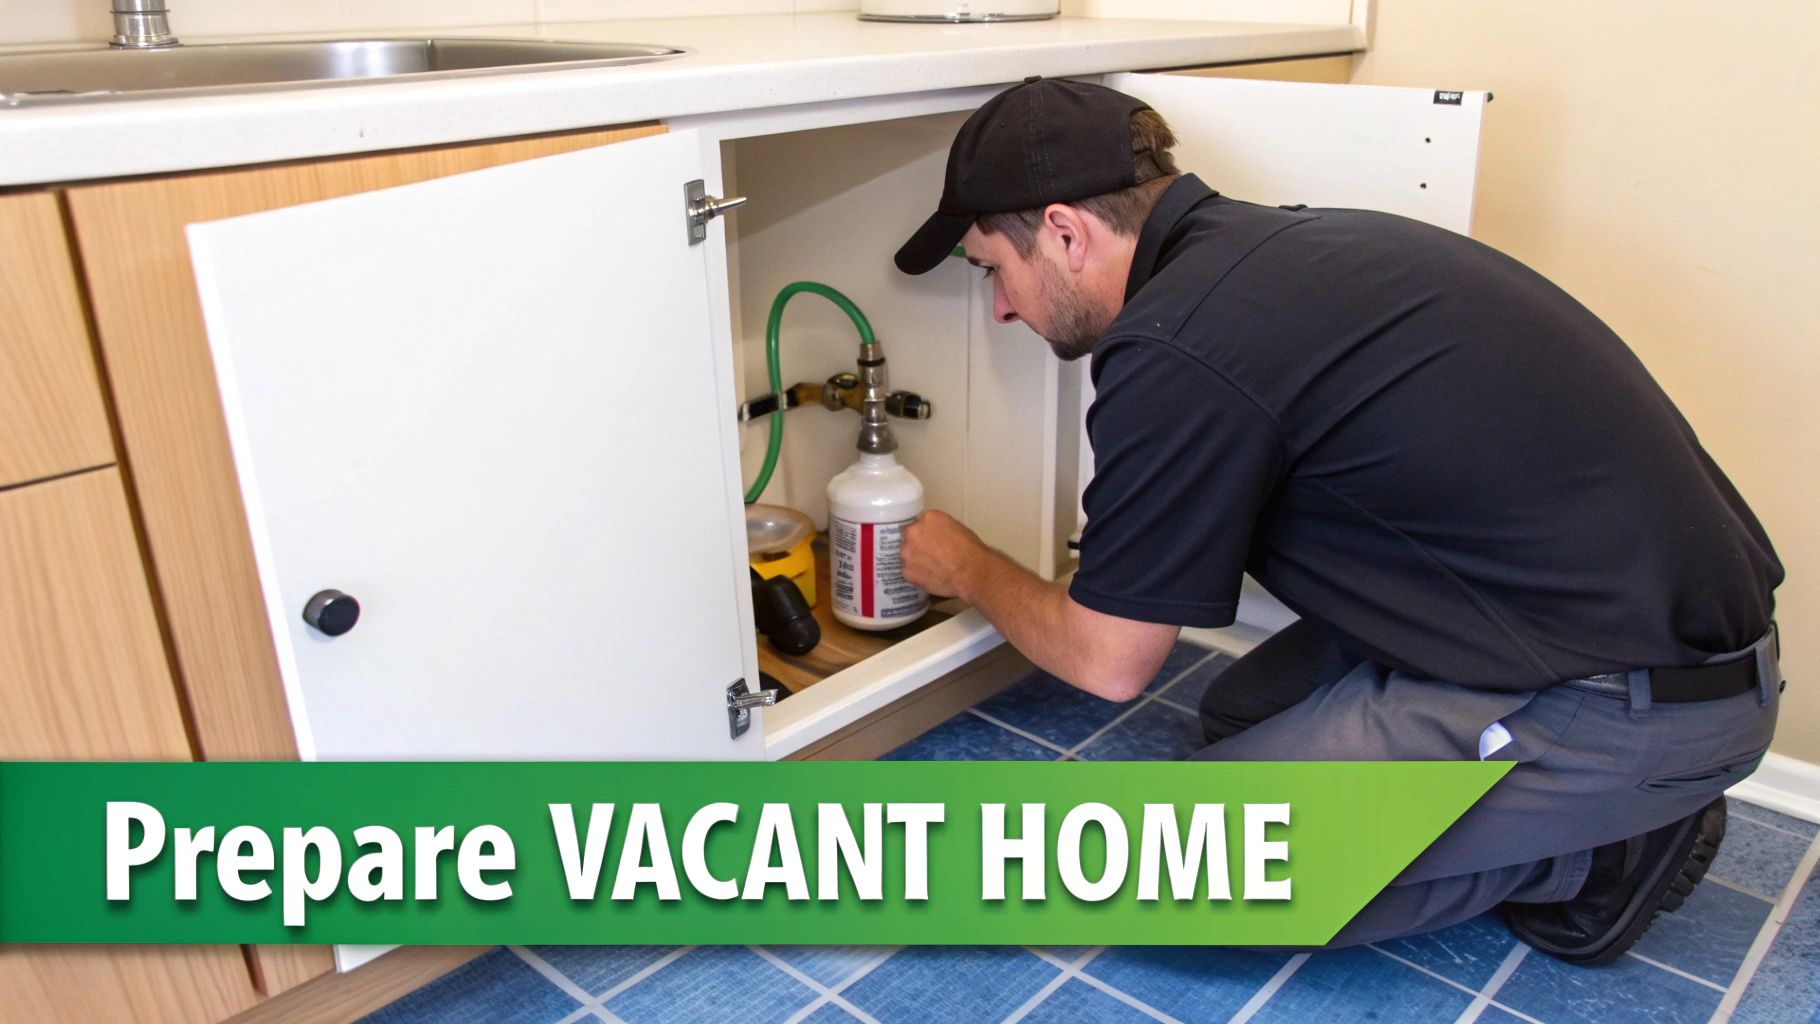
A much safer bet is to keep your thermostat set no lower than 55°F (13°C). The few extra dollars you spend on heat are nothing compared to the cost of flood restoration. For extra protection, open the cabinet doors under your kitchen and bathroom sinks to let the warm air circulate around that vulnerable plumbing.
The Dangers of Improper Heat Tape Installation
Heat tape is a fantastic solution for protecting pipes in the coldest parts of a home, like an unheated crawl space, garage, or attic. But a botched installation isn't just ineffective—it's a serious fire hazard. The most common mistake I see is people overlapping the heat cable as they wrap it around a pipe.
This overlap creates dangerous hot spots that can melt the cable's insulation and, in a worst-case scenario, ignite nearby wood or insulation.
- Follow the manufacturer's instructions to the letter. They will specify the exact spacing required when wrapping the cable. Don't eyeball it.
- Never, ever use an extension cord. Heat tape should be plugged directly into a GFCI-protected outlet.
- Give it an annual check-up. Before you plug it in for the season, inspect the entire length for cracks, fraying, or any other signs of damage.
Failing to properly winterize your plumbing can turn a small problem into a massive one. A single burst pipe can gush up to 500 gallons of water per hour, destroying floors, drywall, and personal belongings in a shockingly short amount of time. In fact, forgetting to remove a garden hose is blamed for an estimated 25% of all outdoor faucet bursts. Home inspectors often find that even professionally winterized vacation homes suffer damage because residual water wasn't fully blown out of the system. You can find more real-world examples from inspectors discussing common winterization pitfalls.
Even if you do everything right, accidents can happen. It’s always a good idea to understand how to file a property damage claim before you need to. Knowing the process can save you a world of stress during an already difficult time.
Winterizing an Unoccupied Home or Vacation Property
Leaving a house empty for the winter, whether it's your lake cabin or primary residence, adds a whole new layer of risk. You can't just lock the door and hope for the best. Your game plan really comes down to one question: how long will you be gone?
The "Keep It Warm" Method for Short Trips
If you're just heading out for a week-long vacation or a short holiday trip, a full-blown plumbing shutdown is completely unnecessary. The goal here is much simpler: keep the house stable and warm enough to ride out any sudden cold snaps while you're away.
This approach is all about using your home's heating system smartly to protect your pipes.
- Don't Skimp on the Thermostat: This is non-negotiable. Set your heat to at least 55°F (13°C). The few dollars you spend on heating are a tiny price to pay compared to the thousands a burst pipe could cost.
- Open Up Your Cabinets: Think about where your pipes are most vulnerable—under sinks in the kitchen and bathrooms, often tucked into uninsulated exterior walls. Leaving those cabinet doors wide open lets warm air circulate and keep them from freezing. It’s a simple trick that makes a huge difference.
- A Slow Drip for Deep Freezes: If the forecast calls for a particularly nasty cold front, it’s a good idea to let a faucet or two drip slowly. Moving water has a much harder time freezing, and this can be the final line of defense for a stubborn pipe. If you can, ask a trusted neighbor to pop in and set this up for you.
The Full Drain-Down for Long-Term Vacancy
When you're closing up a property for the entire season, leaving the heat on isn't practical or foolproof. A power outage during a blizzard could spell disaster. For any long-term absence, the only surefire way to prevent damage is to get every single drop of water out of the system.
Yes, this is a more involved job, but it’s the key to real peace of mind.
First things first, you need to kill the water supply. Find the main water shut-off valve for the house and turn it off completely. Now, it's time to drain everything. Start on the top floor and open every single faucet, showerhead, and spigot. Then work your way down to the lowest level of the house, letting gravity pull the water out of the lines.
Next, you have to tackle the appliances, because they all hold water.
- Water Heater: Shut off its power or gas supply. Hook a garden hose to the drain valve near the bottom of the tank and let it empty completely.
- Washing Machine: Unhook the hot and cold supply hoses and let them drain into a bucket.
- Other Appliances: Don't forget the dishwasher, water softener, and refrigerator ice maker line. Each one needs to be drained according to its manual.
Finally, protect your drains and toilets. Even with the water off, the U-shaped traps under your sinks and inside your toilets hold water to block sewer gas. That water will freeze and can easily crack porcelain or PVC.
After flushing the toilets to get as much water out of the bowl and tank as possible, pour a non-toxic RV/marine antifreeze down every single drain—sinks, showers, tubs, and floor drains. Do the same for each toilet bowl. This pink antifreeze displaces the water and won’t freeze.
It's also worth noting that insurance policies can get tricky with vacant properties. Many standard homeowner's policies have clauses that limit coverage if a home is unoccupied for an extended period. It’s always a good idea to check your policy and look into specific vacation home insurance to make sure you're properly covered.
Your Winter Plumbing Questions Answered
Even with the best checklist, you’re bound to run into a few specific questions as you get your home ready for winter. This is where we tackle those common head-scratchers, from what to do in an emergency to whether it's worth calling in a pro.
Think of this as the FAQ section I've built up over years of helping homeowners. We'll get straight to the point on what works, what doesn't, and how to make the right call for your home.
Is It Really Necessary to Let Faucets Drip During a Hard Freeze?
Absolutely. It might seem counterintuitive, but letting a faucet drip is one of the most effective tricks in the book during a brutal cold snap. The magic isn't in the amount of water you're using; it's the constant movement. Moving water has a much harder time freezing into a solid, pipe-bursting block of ice.
Just a slow, steady drip from a faucet on an exterior wall—think kitchen sink or a bathroom on the far side of the house—is all it takes. The tiny addition to your water bill is nothing compared to the potential $10,000 repair for a single burst pipe. It’s the cheapest plumbing insurance you'll ever buy.
Pro Tip: Don't just turn on the cold tap. Open both the hot and cold handles just enough to get a small drip going. This keeps water moving in both lines, giving you double the protection for that fixture.
What Should I Do If I Find a Frozen Pipe?
First, take a breath. The key here is to act calmly and, above all, safely. Whatever you do, never use an open flame—like a blowtorch—to thaw a pipe. It's an incredible fire hazard and can actually cause the metal to fail spectacularly.
Here’s the right way to handle it:
- Open the Faucet: Before you do anything else, open the faucet that the frozen pipe leads to. As the ice melts, this gives the water and steam a path to escape, relieving the immense pressure building inside.
- Apply Gentle Heat: Your best tools are a hairdryer on a low setting, an electric heating pad, or even towels you've soaked in hot water. Wrap or aim them at the frozen section of the pipe.
- Work from the Faucet Backwards: Start applying heat near the open faucet and slowly work your way back toward the icy blockage. This ensures the melting water has a clear path out and doesn't get trapped.
If you can't find the frozen spot, can't reach it, or worse, see that the pipe has already split, shut off the main water valve to your house immediately. Then, call a licensed plumber for an emergency visit.
Can I Winterize My Plumbing Myself or Should I Hire a Pro?
This is a great question, and it really comes down to the job's complexity and your own comfort level. Many of the most important winterizing tasks are perfect for a Saturday morning DIY project.
Good DIY Tasks:
- Disconnecting your garden hoses and stowing them away.
- Popping foam insulation covers over your outdoor faucets.
- Wrapping any exposed pipes you can easily reach in your basement or crawlspace.
But some jobs are best left to a professional with the right tools and experience.
When to Call a Professional:
- Irrigation System Blowout: A proper blowout requires a high-volume air compressor to push all the water out without damaging the lines. Using a standard shop compressor can do more harm than good.
- A Full Drain-Down: If you're winterizing a vacant property, a pro knows how to get every last drop of water out of the entire system—including spots an amateur might miss, like appliance lines or low points in the plumbing.
- Faulty Shut-Off Valves: If you go to turn a valve and it's stuck or starts leaking, stop what you're doing and call a plumber. That's not a DIY repair.
Hiring a professional for a full winterization service usually runs between $200 and $400. When you have a complex system, that fee buys you priceless peace of mind, knowing the job was done right and you're protected from a costly mistake.
How Does Winterizing My Plumbing Affect My Homeowners Insurance?
Taking the time to winterize your plumbing is one of the smartest things you can do from an insurance perspective. While most standard homeowners policies cover "sudden and accidental" water damage from something like a burst pipe, insurers also expect you to take reasonable steps to maintain your home.
If a pipe freezes and it's clear the home wasn't prepared for the cold, an insurer could view it as negligence, which might complicate your claim process. It's always better to prevent the claim in the first place. Not only does it save you the stress and disruption of a major repair, but it also helps keep your insurance premiums down by maintaining a clean claim history.
Protecting your home from preventable risks is the foundation of a solid financial plan. At Wexford Insurance Solutions, we believe in empowering homeowners with the knowledge to safeguard their most valuable asset. If you have questions about your current coverage or want to ensure your policy provides the protection you need this winter, our team is here to help. Discover a better insurance experience at https://www.wexfordis.com.
 Types of Commercial Insurance Policies (types of commercial insurance policies)Mastering risk assessment for small business: A practical guide


