

When a hailstorm rolls through, the aftermath can feel overwhelming. But what you do in those first few hours is crucial for a successful hail damage roof insurance claim. The key is to stay safe, meticulously document the damage from the ground, and take immediate steps to stop any further problems, like water leaks. Getting this right from the start makes the entire claims process go much smoother.
Your First Moves After a Hail Storm
It's easy to feel a sense of panic after a big storm, but a methodical approach will serve you best. Before you do anything else, think safety. I can't stress this enough: never climb on a roof that's wet, covered in hail or debris, or potentially unstable. It’s just not worth the risk.
Instead, your work begins on solid ground. Grab your phone and start a slow, careful walk around your entire property. You're looking for the classic calling cards a hailstorm leaves behind.
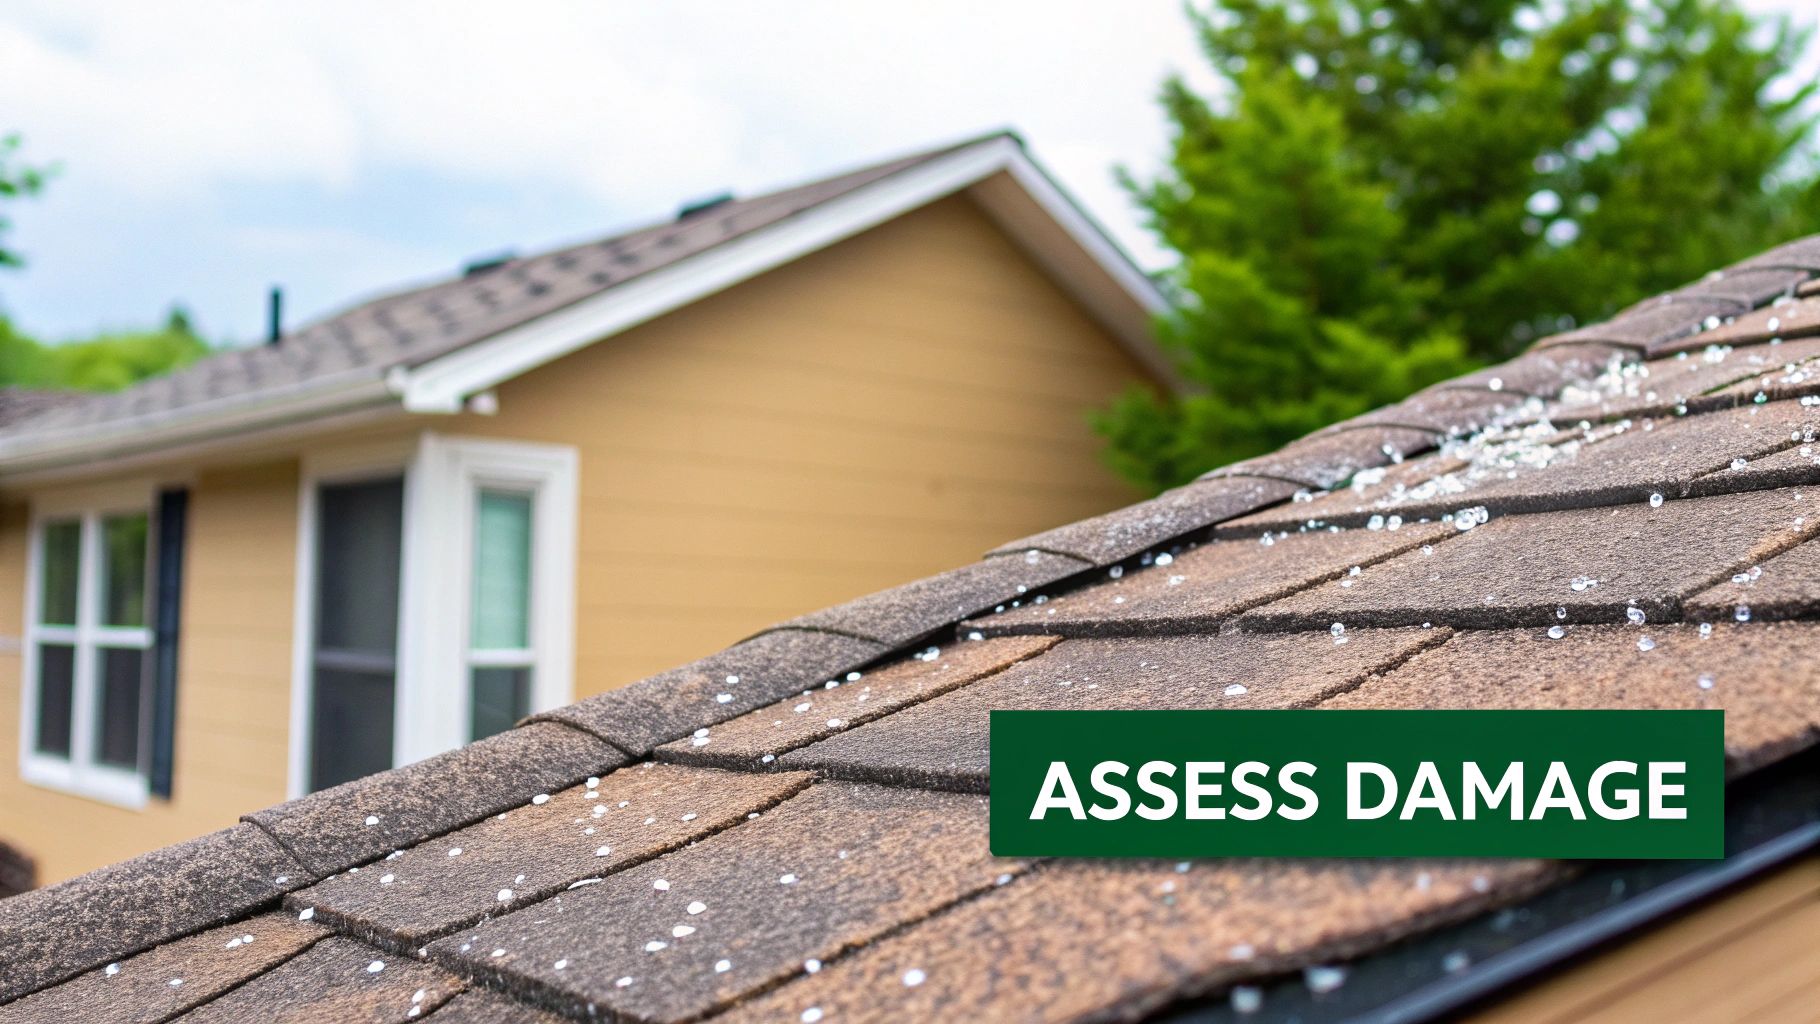
What to Look for from the Ground
You’d be surprised how much evidence you can gather without ever setting foot on a ladder. These areas are magnets for hail damage and are easy to spot from the ground:
- Gutters and Downspouts: These are often the first victims. Look for dents, dings, and pockmarks. Dented metal is a dead giveaway that the hail was forceful.
- Vents and Flashing: Check any metal roof components you can see, like exhaust vents or the flashing around your chimney. Dents here are strong proof for your claim.
- Air Conditioning Units: The soft aluminum fins on an outdoor AC unit are incredibly vulnerable to hail. Damaged fins here provide a great reference for the size and intensity of the hail that hit your property.
- Siding and Windowsills: Don't forget the sides of your house! Inspect siding for any cracks, chips, or circular impact marks. Check window screens for tears and frames for dings.
The whole process really boils down to three critical stages, which you can see in the image below.
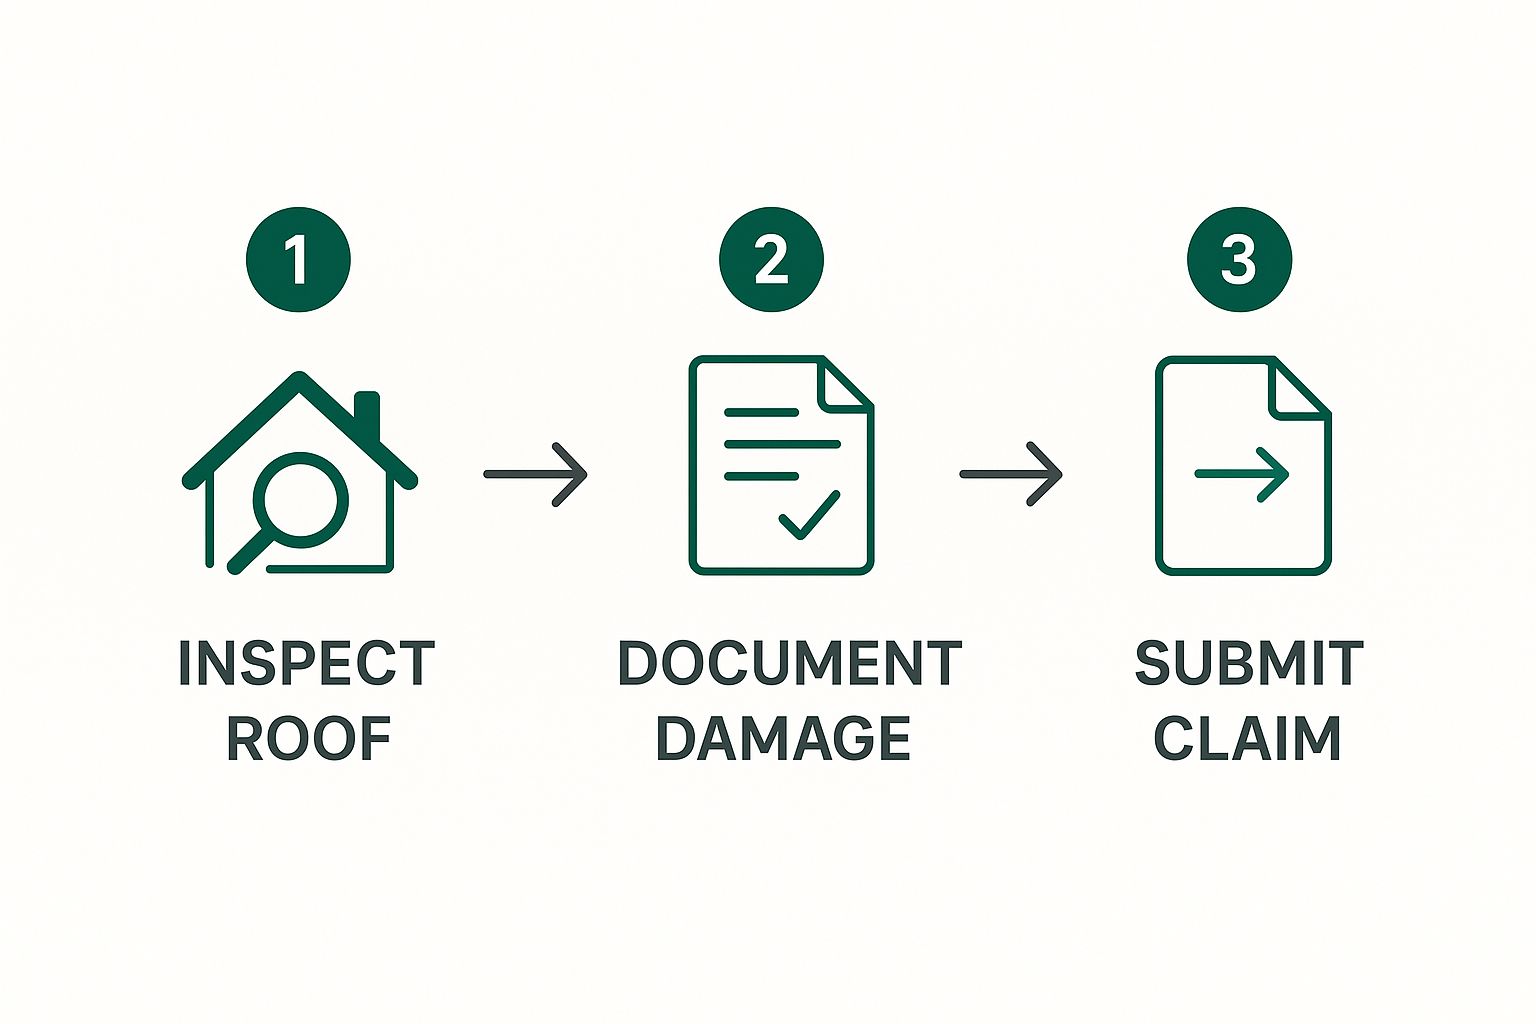
This visual shows why a thorough inspection and solid documentation have to happen before you even think about filing the claim. It’s all about building your case on a strong foundation.
Take Immediate Protective Measures
If you see water stains on your ceiling or other signs of an active leak, you need to act fast. Most insurance policies actually require you to take reasonable steps to prevent further damage—this is often called your "duty to mitigate."
The best immediate fix is to cover the damaged section of the roof with a tarp. This simple, temporary measure shows your insurance company you're being responsible. But before you cover a single thing, take pictures of everything. Get clear, detailed photos of the damage before you make any temporary repairs. This "before" evidence is absolutely vital for your claim.
Key Takeaway: Those first 24 hours after a storm are game-changers. Put safety first, do a detailed ground-level inspection, take photos of everything, and make temporary repairs to keep water out.
In a worst-case scenario, the damage might be so bad that you can't safely stay in your home. If you need to find somewhere else to live temporarily, it's worth understanding how your policy can help. You can learn more about what's covered by reading up on homeowners insurance loss of use coverage. Taking these initial steps correctly sets you up for a much less stressful claims journey.
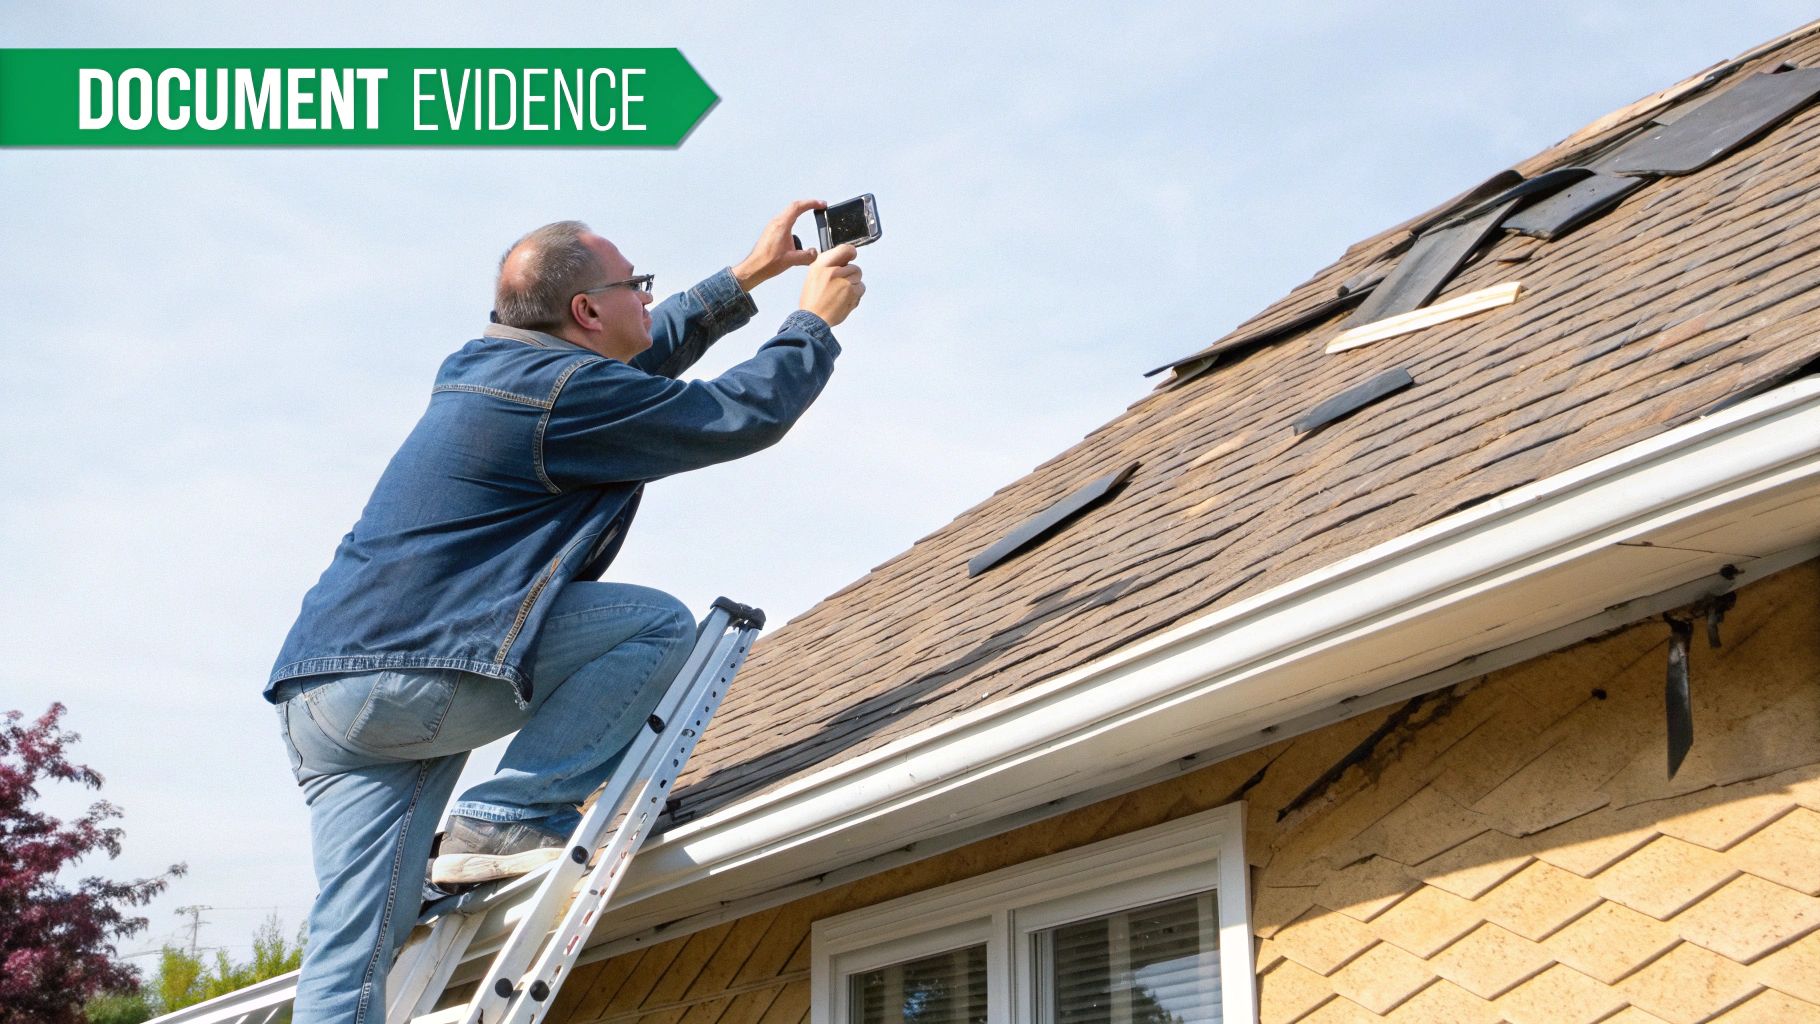
Documenting Damage to Strengthen Your Claim
When it comes to a hail damage roof insurance claim, solid evidence is your best friend. I'm not talking about just a few quick snaps from your phone. Your goal is to build a rock-solid portfolio of damage that tells a crystal-clear story to the insurance adjuster.
Think of it this way: you're creating a persuasive argument, not just a record. A few dings here and there might get you a small repair check. But a well-documented, widespread pattern of damage is what leads to a full roof replacement.
Capturing Evidence Insurers Can't Ignore
First things first, get the big picture. Take wide-angle shots of each side of your roof. This helps establish the overall scope of the storm's impact and shows the adjuster that the damage isn’t just an isolated incident.
Once you have your establishing shots, it’s time to zoom in. This is where you prove hail was the culprit.
- Shingle "Bruises": On asphalt shingles, look for dark, circular spots where the protective granules have been knocked loose. Always place a ruler or coin next to the impact mark for scale—this is a small detail that makes a huge difference.
- Dented Surfaces: Get clear photos of any dents on metal components like flashing, vents, gutters, and downspouts. This is often the most undeniable proof of hail.
- Collateral Damage: Your roof wasn't the only thing in the storm's path. Be sure to photograph damaged window screens, dented siding, or beat-up A/C units. This "collateral" evidence paints a powerful picture of the hail's size and intensity.
For roofs that are particularly steep or have a complex layout, trying to get these shots safely can be a real challenge. Using specialized drone roofing inspection software can be a game-changer, giving you high-resolution images of every nook and cranny without you ever leaving the ground.
Creating a Simple and Effective Damage Log
Your photos are the stars of the show, but a detailed log is the essential script that ties everything together. This written record provides a timeline and context for your insurer. A simple notebook or a spreadsheet is all you need.
For every photo you take, make a quick note. Log the date of the storm, the date you took the picture, and a quick description. Something like: "Photo #12: Close-up of dented chimney flashing, west slope. Impact is about 1.5 inches."
To make sure you don’t miss a thing, I've put together a quick checklist to guide you through the documentation process.
Your Essential Hail Damage Documentation Checklist
| Evidence Type | What to Capture | Why It's Important |
|---|---|---|
| Wide-Angle Roof Photos | Photos of each entire roof slope (north, south, east, west). | Establishes the widespread nature and pattern of the hail impacts. |
| Close-Up Impact Photos | Detailed shots of shingle bruises, cracks, and dents. | Provides clear, undeniable proof of direct hail strikes on the roofing material. |
| Photos with Scale | Place a ruler, coin, or tape measure next to individual impact marks. | Helps the adjuster accurately assess the size and severity of the hail. |
| Metal Component Damage | Dents on gutters, downspouts, flashing, vents, and chimney caps. | Metal damage is often the easiest type of hail evidence to prove and is hard to dispute. |
| Collateral Damage | Photos of damaged siding, window screens, A/C units, and decks. | Corroborates the storm's intensity and proves your property was in the hail path. |
| Damage Log/Notes | A written log with photo numbers, locations, and descriptions. | Organizes your evidence into a professional, easy-to-follow narrative for the claim. |
| Date & Time Stamps | Enable timestamps on your camera or phone. | Creates an official timeline of when the evidence was gathered. |
Having this level of organized proof shows your insurer that you are thorough and serious about your claim. It takes all the guesswork out of the equation for the adjuster.
Your documentation should leave no room for doubt. An adjuster should be able to look at your collection of photos, videos, and logs and immediately understand the full extent of the loss without having to guess.
Of course, documenting the damage is only half the battle. You also need to know what your policy actually covers. If you haven't done so already, now is the perfect time to learn more about how to read your insurance policy. Being prepared on both fronts will make the entire process go much more smoothly.
Filing Your Claim and Working With the Adjuster
Alright, you've done the legwork and have your photos and notes ready. Now it’s time to officially kick off your hail damage roof insurance claim. This is where you shift from assessing the damage to taking action. My best advice? Don't wait. Most insurance policies have a strict deadline for filing, and calling them right away shows you're on top of things.
When you make that first call, have your policy number handy, along with the date the storm hit. Be ready to walk them through your initial findings. The person on the other end will give you a claim number—write it down, save it in your phone, tattoo it on your arm—whatever you need to do. That number is your golden ticket for every single interaction from this point forward.
If you feel like you're the only one going through this, you're not. Hail damage is the single most common reason homeowners file an insurance claim, making up a staggering 45.5% of all claims nationwide. The average payout for these claims hovers around $11,695, which gives you an idea of why the process can feel so formal.
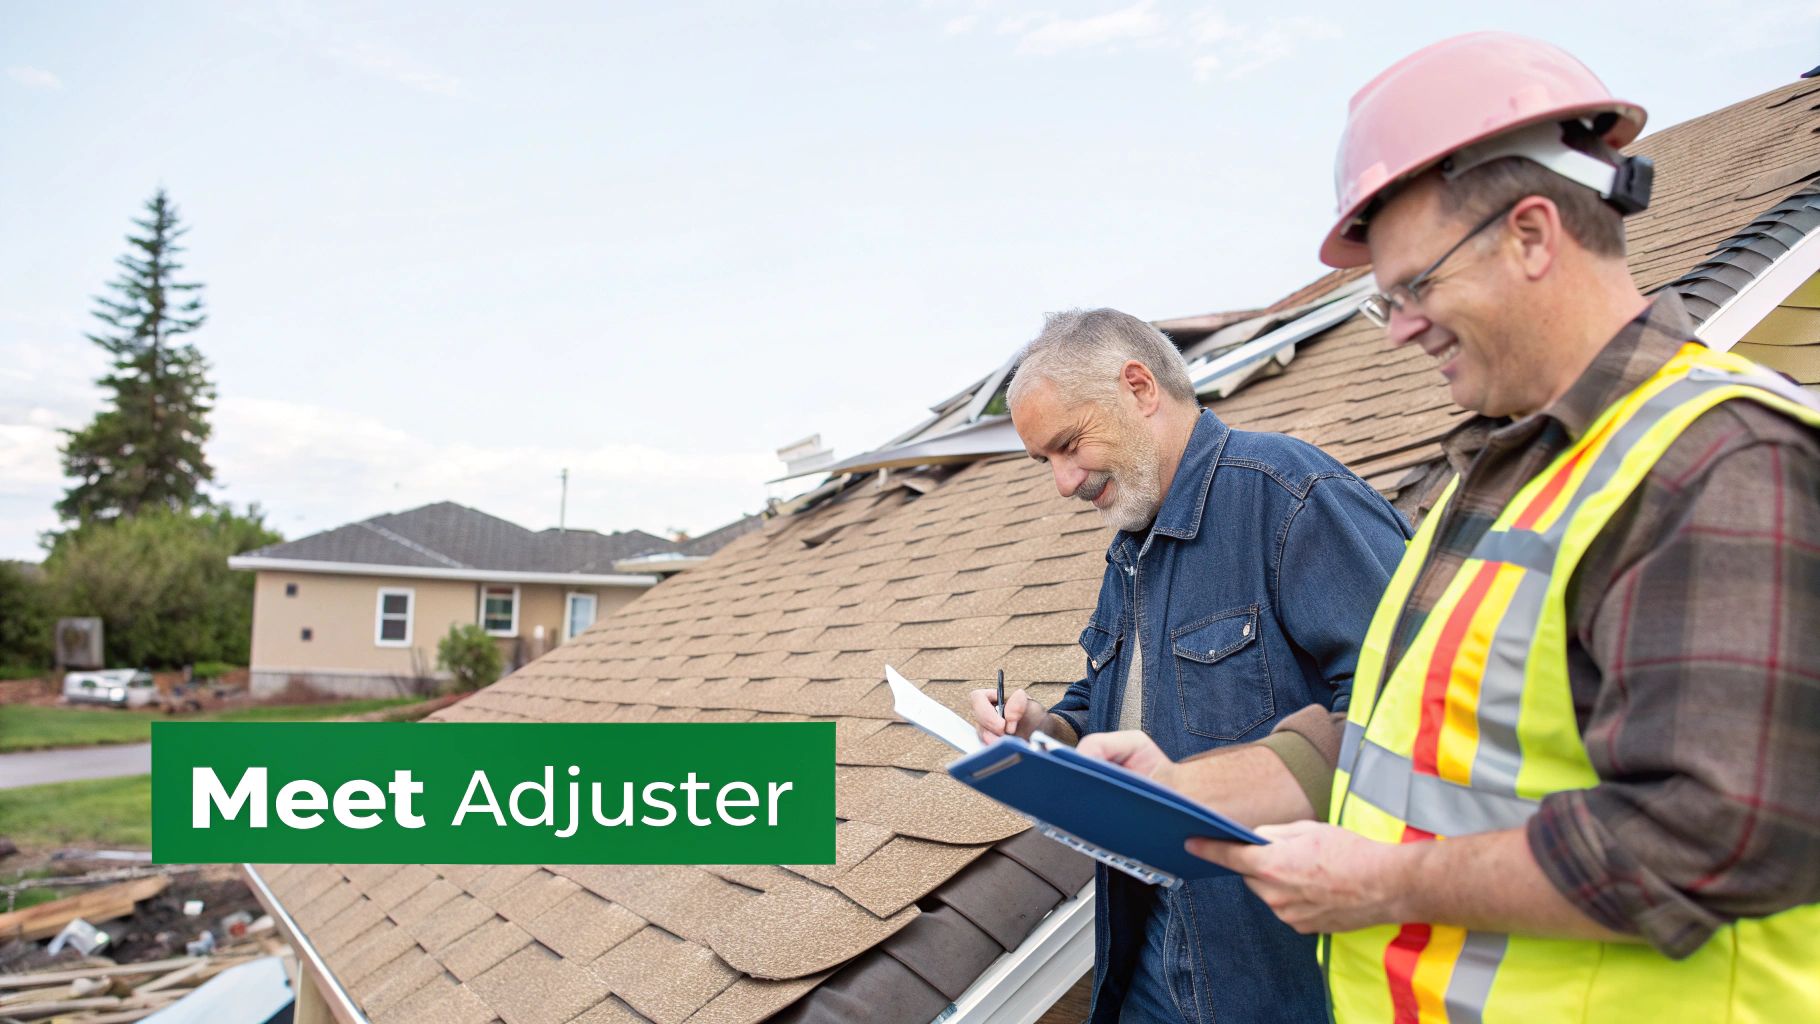
Meeting the Insurance Adjuster
Once your claim is filed, your insurance company will assign an adjuster to your case. This person is the one who will come out, inspect the damage firsthand, and ultimately put a dollar figure on your loss. Think of this meeting as the most important part of the entire process.
To get ready for their visit, have all your documentation neatly organized. I like to have a printed copy in a folder and a digital version on a tablet. When the adjuster arrives, walk the property with them. Don't just let them wander around alone. Point out every single thing you found—the dings on the gutters, the cracked shingles, the torn window screens. Your detailed notes and photos make their job easier and, more importantly, make it harder for them to miss anything.
Pro Tip: Remember, the adjuster works for the insurance company. They aren't your adversary, but their objective is to assess the damage according to the policy's terms and close the file. Your job is to make sure they see the full picture, backed by clear evidence.
Understanding Your Settlement Offer
After the inspection, you’ll receive a report and a settlement offer from the adjuster. This document can be full of confusing insurance jargon, but there are two terms you absolutely must understand: ACV and RCV.
-
Actual Cash Value (ACV): This is what your roof is worth today, with its age and general wear and tear factored in. An ACV payout almost never covers the full cost of a brand-new roof. It’s a depreciated value.
-
Replacement Cost Value (RCV): This is the big one. RCV is the total amount it will cost to replace your roof with a new one of similar quality at today’s prices (minus your deductible, of course). If your policy has RCV coverage, you’re in a much better position to be made whole again.
Here’s how it usually plays out: the insurance company will cut you a check for the ACV first. The rest of the money, called the depreciation, is held back until you actually get the work done. Once your contractor finishes the job and you send the final invoice to the insurer, they’ll release that remaining amount.
Getting comfortable with the overall https://wexfordis.com/2025/05/26/homeowner-insurance-claim-process/ helps you know what's coming and stay a step ahead. It empowers you to ask the right questions and make sure you get every penny you’re entitled to.
Finding a Reputable Roofing Contractor
After a hailstorm, your neighborhood will be swimming with contractors. It’s almost a guarantee. This is a make-or-break moment for your hail damage roof insurance claim—the roofer you hire can be your best advocate or your worst nightmare. A great one becomes part of your team, working with you and the insurance company. A bad one? They can leave you with a leaky roof and a worthless warranty.
The first major red flag is a sense of manufactured urgency. You'll see them everywhere—the "storm chasers." These crews roll into town and use high-pressure tactics to get a contract signed on the spot. They’ll often promise to “handle everything” with your insurance, which sounds great when you’re overwhelmed. But be warned: these out-of-town outfits have a nasty habit of vanishing as soon as they’re paid, leaving you high and dry if their work fails later.
Vetting a Roofer You Can Actually Trust
A professional, local contractor will never rush you. They get it—this is a huge decision, both for your home and your finances. They’ll give you the space and information you need to feel confident. To make sure you’re hiring a true pro, it’s worth reading through an expert guide on choosing a roofing contractor you can trust.
Before you even think about signing a contract, there are a few non-negotiables to check off your list.
- Local and Established: Do they have a real, physical office nearby? A solid local reputation is your best defense against those fly-by-night crews.
- Properly Insured: You need to see proof of both general liability insurance and workers' compensation. If they don't have it, any accident on your property could become your financial responsibility.
- Licensed and Certified: Make sure they have the right state and local licenses. Manufacturer certifications, like from GAF or Owens Corning, are another excellent sign that they’re properly trained and committed to quality.
Pro Tip: A contractor's insurance is your safety net. Always ask for their certificate of insurance and take the extra five minutes to call the insurance provider and confirm the policy is active. A legitimate company will never have a problem with this.
The Questions That Separate the Pros from the Amateurs
Beyond the basics, you need someone who genuinely understands the insurance claims process. They should be a resource for you, not just a guy with a nail gun. Ask them point-blank about their experience with insurance work. You'll get a feel for their confidence and expertise pretty quickly.
It’s also smart to have a basic understanding of what’s required of them legally. Knowing the typical general contractor insurance requirements helps you see if they're meeting industry standards designed to protect homeowners like you.
Finally, never, ever accept a vague, one-page quote. Insist on a detailed, itemized estimate that breaks down every cost: materials, labor, permits, and even cleanup. This document is the roadmap you and your insurance adjuster will follow to make sure every penny of your settlement goes toward a quality, long-lasting repair. A professional knows this and provides it without being asked.
Understanding and Negotiating the Settlement Offer
Getting that first settlement offer in hand can feel like the finish line, but don't get ready to celebrate just yet. The adjuster’s initial report isn't the final word on your hail damage roof insurance claim—it's just the opening bid.
Think of it this way: their report is the insurance company's first take on the damage. Now it’s your turn to dig in, compare it to the facts, and make sure you get the funds needed to restore your home properly.
This is where the detailed, itemized estimate from your trusted roofer becomes your most powerful tool. By comparing it line by line against the adjuster's summary, you can pinpoint exactly where their numbers fall short.
And these oversights happen more often than you'd think. In 2022 alone, storms involving hail caused an estimated $29 billion in roofing insurance claims across the U.S. With that kind of volume, adjusters are often overworked, and things get missed. You can see more on the impact of these storms on Claims Journal.
Analyzing the Adjuster's Summary
Ready to play detective? Lay your roofer's estimate and the adjuster's summary side-by-side. You're looking for gaps, and they usually show up in a few common areas:
- Missing Line Items: Did they forget to include the cost to replace damaged flashing, vents, or the drip edge? These small items add up.
- Incorrect Measurements: A simple error in calculating your roof's total square footage can dramatically lower the offer. Double-check their math.
- Outdated Material Costs: The price of shingles and underlayment changes. Make sure the offer is based on today's market rates, not last year's.
- Code Upgrades: Building codes evolve. If your city now requires something your old roof didn't have, your policy might cover the cost to bring it up to standard. This is a frequently overlooked detail.
When you find these discrepancies, the key is to stay professional. Don't frame it as an argument.
Key Takeaway: Treat the negotiation as a collaborative process to get the details right. You’re simply providing new, clarifying information—your contractor's expert estimate—to help them see the full scope of the repair.
Challenging a Lowball Offer
If the numbers on that initial offer just don't add up, it's time to build your case. Simply telling the adjuster "it's not enough" will get you nowhere. You have to show them why.
Put together a clear, logical package for the adjuster that includes:
- Your contractor’s detailed, itemized estimate.
- All the documentation you gathered earlier—your photos, notes, and damage log.
- A short, polite letter pointing out the specific differences between their report and your roofer's findings.
This organized approach shows you've done your homework and are serious about a fair settlement. Remember, your policy likely includes Replacement Cost Value (RCV), which is meant to cover the full price of replacing what you lost with new materials. Understanding the details of replacement cost coverage will give you a major advantage in these conversations.
If you and the adjuster truly can't see eye to eye, don't panic. Most policies have a built-in tiebreaker called an "appraisal clause." This process allows both you and the insurer to hire independent appraisers, who then agree on a neutral third-party umpire. A decision agreed upon by any two of them becomes binding, giving you a final, fair resolution.
Answering Your Top Questions About Hail Damage Claims
Even when you feel prepared, walking through a hail damage roof insurance claim can stir up a lot of questions. Let's tackle some of the most common ones I hear from homeowners. Getting these answers sorted out beforehand will make the whole thing feel less daunting and help you stay in the driver's seat.
A question that comes up constantly is, “Should I get a roofer’s estimate before I file my claim?” While your policy might not demand it, getting a qualified local roofer to take a look first is always a smart play.
An experienced contractor can tell you if the damage is widespread and significant enough to warrant a claim in the first place. This keeps you from filing for minor dings that won't even meet your deductible. Plus, their initial inspection report gives you a solid baseline to measure the insurance adjuster's findings against later.
Will My Insurance Rates Go Up After a Hail Claim?
This is the big one—the fear that keeps many homeowners from filing. The short answer is: it’s highly unlikely. Insurance carriers classify hail damage as an "Act of God," meaning it was a natural event totally beyond your control.
Unlike an at-fault claim (like a fire started by a tipped-over candle), a weather event like hail won't single you out for a rate hike. The exception? If a massive storm devastates your entire region and leads to thousands of claims, the insurance company might raise rates for everyone in that area to recoup their losses. In that scenario, your individual claim isn't the trigger; it's the widespread disaster.
And these storms are no small matter financially. The cost to insurers is staggering. In 2022 alone, Minnesota saw hail damage payouts hit around $799 million. Texas followed at $510 million, with Arkansas at $231 million. You can dig into more of these regional payout statistics to get a sense of the scale in different parts of the country.
My Advice: Never let the fear of a potential rate increase stop you from filing a legitimate claim. This is exactly what your policy is for—to protect you from major, uncontrollable damage.
How Long Do I Have to File a Hail Claim?
You don't have to file the second the skies clear, but you can't wait forever. Most insurance policies give you a specific window to file, which is typically one year from the date the storm hit.
But here’s a crucial distinction: just because you can wait doesn't mean you should. It is always in your best interest to get the ball rolling as soon as you've safely inspected and documented the damage.
The longer you wait, the more complicated your claim can become. Evidence of the damage can fade, another storm might roll through and muddle the situation, making it tough to prove which event caused what problem. Acting quickly shows your insurer you're on top of it and ensures the evidence is fresh and undeniable.
Going head-to-head with an insurance company over a hail damage claim is tough, but you don't have to face it by yourself. The experts at Wexford Insurance Solutions are here to offer the guidance you need for a fair settlement. Visit us at https://www.wexfordis.com to see how we can help protect your home.


