

When a nasty storm blows through, the last thing you want to see is shingles scattered across your lawn. If you find yourself in this situation, filing a roof damage insurance claim for wind is probably on your mind, but what you do in the first few hours is absolutely critical. Taking charge starts with putting safety first, documenting every bit of the damage before anyone touches the roof, and then making smart, temporary repairs to stop things from getting worse.
This initial response is your foundation for a smooth and successful claim.
What to Do Immediately After Wind Damages Your Roof
The aftermath of a major wind event can be jarring. Your roof, the single most important barrier protecting your home, has been battered, and it’s easy to feel overwhelmed. But how you handle these first moments can make all the difference for your insurance claim. A calm, methodical approach will help you meet your policy obligations and build a rock-solid case for getting the compensation you deserve.
The instinct might be to immediately call the first roofer you find online, but that's a mistake. Your insurance company needs undeniable proof that the windstorm—and only the windstorm—caused the damage. Your own initial photos and notes are the most powerful evidence you can have.
Prioritize Safety Above All Else
Before you even glance at the roof, your first thought must be safety. I can't stress this enough: stay off the roof. A compromised roof is an unstable one, especially when it's wet or still windy. The risk of a fall is just too high.
Do your initial inspection from the safety of the ground. If you have a pair of binoculars, now’s the time to use them. You should also be on high alert for downed power lines or large, unstable tree limbs around your property. These are serious hazards that need to be dealt with by professionals. For a more detailed look at immediate safety steps, this Storm Damage Roof Repair Guide is a great resource.
This simple workflow is your best friend in those first few hours. Focus on what you can control: safety, documentation, and mitigation.
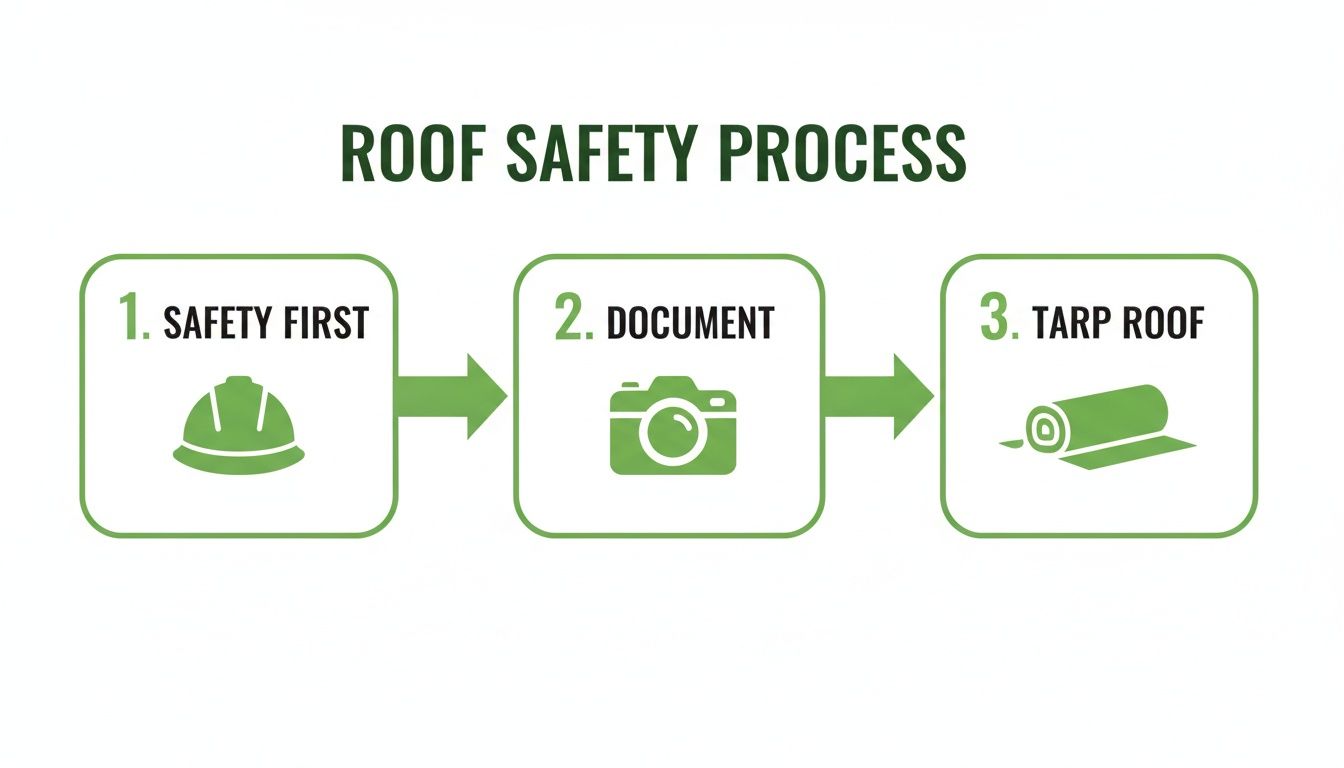
Following this sequence protects you, your family, and your home while you lay the groundwork for a successful claim.
To help you stay on track during a stressful time, here’s a quick-reference checklist of what to do right away.
Immediate Action Checklist After Wind Damage
| Action Item | Why It's Important | Pro Tip |
|---|---|---|
| Stay on the Ground | Climbing a damaged roof is extremely dangerous. It could be structurally unsound. | Use binoculars or a drone (if you have one) to get a closer look from a safe distance. |
| Take Photos & Videos | This is your primary evidence. It shows the "before" state prior to any temporary repairs. | Get wide shots of the whole house and close-ups of specific damage. Narrate your videos to explain what you see. |
| Make Temporary Repairs | Your policy requires you to prevent further damage (like interior leaks). | Use a tarp to cover holes and board up broken windows. Save all receipts for materials you buy. |
| Locate Your Policy | You'll need your policy number and to understand your coverage and deductible. | Can't find the paper copy? Check your insurer's website or app for a digital version. |
| Notify Your Insurer | The sooner you report the claim, the sooner the process can begin. | Be ready to provide your policy number, the date of the storm, and a brief description of the damage. |
This checklist isn't exhaustive, but it covers the most critical first steps that set the stage for everything that follows.
Your Duty to Mitigate Damage
Buried in the fine print of nearly every homeowner's policy is a clause called the "duty to mitigate." In plain English, it means you have a responsibility to take reasonable steps to prevent the damage from getting worse after a storm. For a roof, this usually means getting a tarp up to cover exposed areas.
If you don't, your insurer could refuse to pay for any subsequent issues. For instance, if a simple tarp could have stopped rain from pouring in and ruining your ceilings and floors, the insurance company might argue they're only on the hook for the roof repair, not the massive water damage inside.
Key Takeaway: Documenting the damage before you make any temporary repairs is non-negotiable. Photos of the roof with shingles missing, before it's covered by a blue tarp, prove the full extent of the storm's impact. It stops the insurer from questioning where the damage came from.
Identifying Obvious Signs of Wind Damage
You don't need to be a roofer to spot the classic signs of wind damage from the ground. Walk around your property and look for these tell-tale indicators.
- Missing or Dislodged Shingles: The most obvious sign. Check your yard, your neighbor's yard, and your gutters for shingles that have been blown clear off the roof.
- Creased or Lifted Shingles: Look closely for shingles that are bent, curled up, or seem to be peeling back at the edges. A sharp horizontal crease across a shingle tab is a dead giveaway that it was violently flapped back and forth by the wind.
- Damaged Flashing: The thin metal strips around your chimney, vents, and skylights are vulnerable. Check to see if they look bent, dented, or pulled away from the roof.
- Granule Loss: Seeing a pile of what looks like black sand in your gutters or downspouts? Those are the protective asphalt granules from your shingles, and significant loss means the storm has aged your roof prematurely.
This initial survey helps you build the story for your claim, creating a direct line between the weather event and the state of your roof. With severe weather events on the rise, this step is more important than ever. In fact, roof repair and replacement costs in the U.S. recently soared to nearly $31 billion in a single year, with wind and hail being the culprits in over half of all home insurance claims.
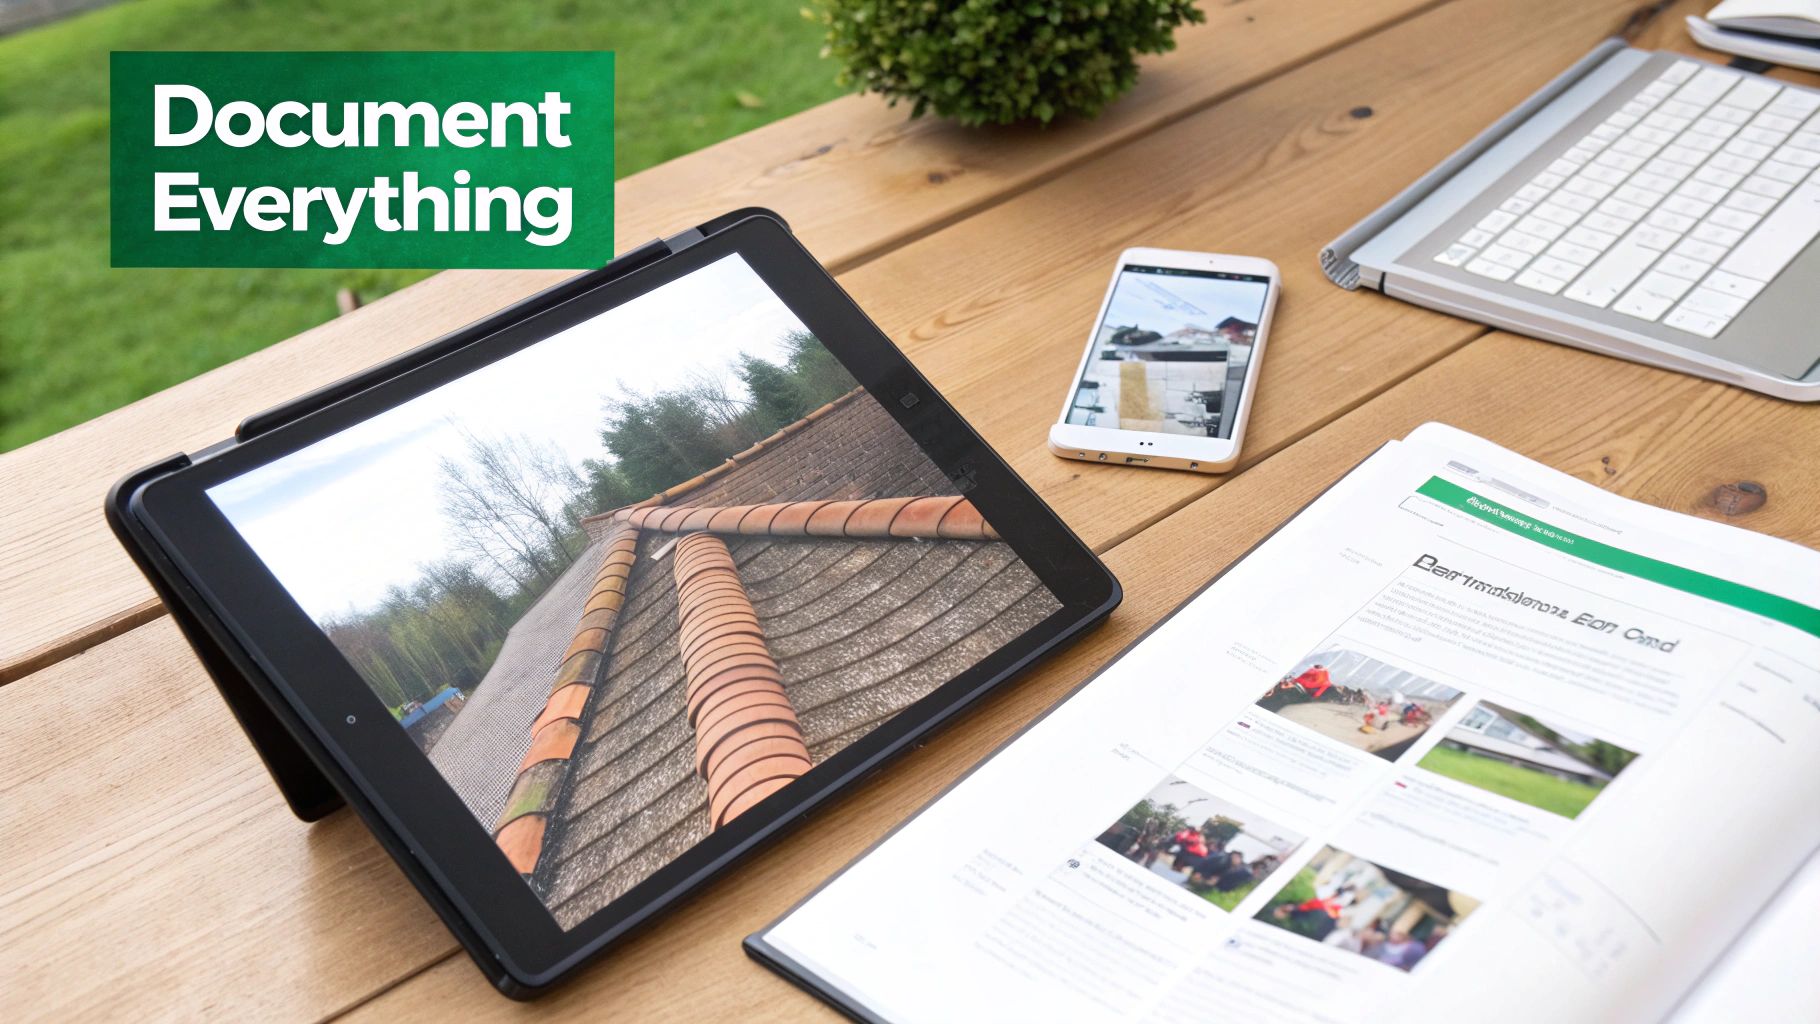
Building an Undeniable Record of Your Damage
When you file a roof damage insurance claim for wind, the insurance adjuster's primary role is to verify the loss. The clearer and more organized your evidence, the faster and smoother that process will be. This isn't just about snapping a few quick pictures; it’s about building a comprehensive damage portfolio that tells the undeniable story of what that storm did to your home.
Think of it this way: you're creating a file that leaves no room for doubt. Every photo, video, and piece of data you collect validates your claim and justifies the settlement you need.
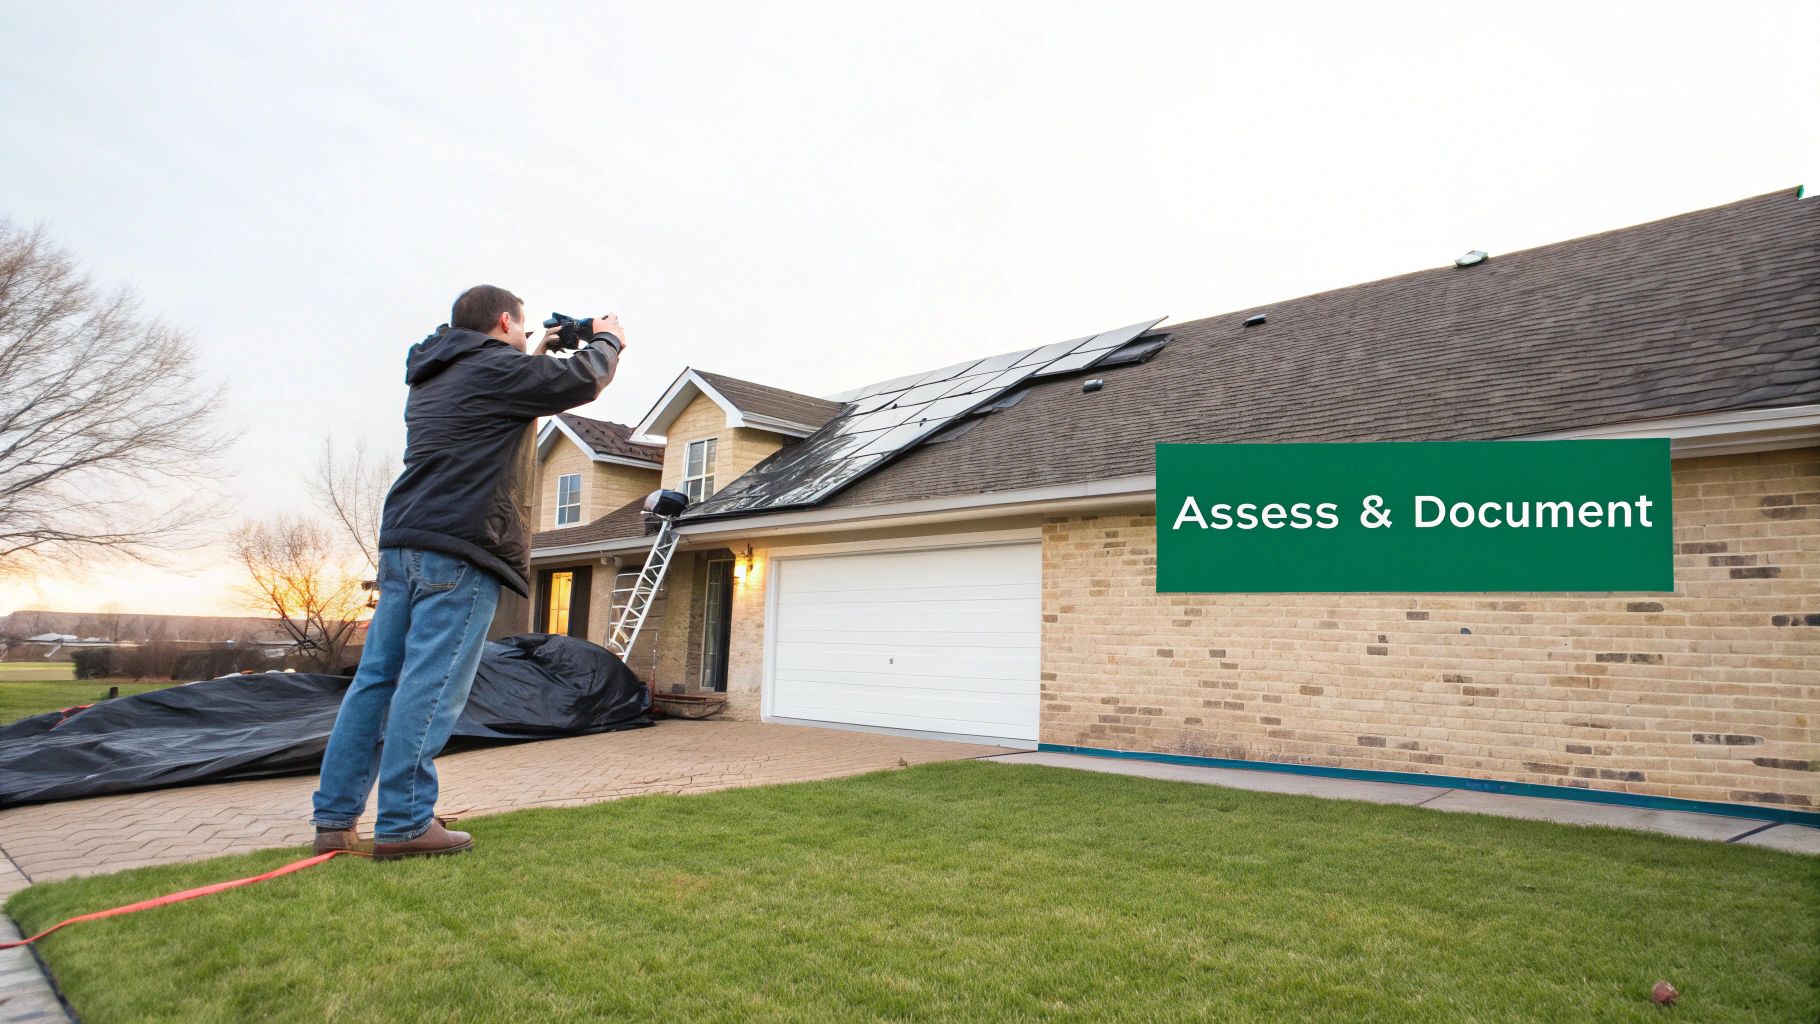
Creating Your Visual Evidence Log
Your phone is your best friend right now. An adjuster needs to see both the nitty-gritty details and the big picture to truly grasp the extent of the damage.
A mix of photos and videos is ideal. When you shoot video, walk the property and narrate what you’re seeing. Call out the date, time, and specific damage points as you record—this adds a layer of context that static photos just can’t capture.
The Specific Shots Adjusters Need to See
To prove wind was the culprit, you need to capture the tell-tale signs. Insurance carriers are trained to look for very specific types of damage.
Make sure you get these shots:
- Lifted Shingles: Get right up close to any shingles where the sealant strip underneath has broken. This is the classic signature of wind uplift. Show how easily the shingle lifts, proving the factory seal was compromised by wind.
- Creased Shingles: Look for any shingles with a hard horizontal crease running across them. This happens when the wind bends a shingle so far back that it permanently damages the matting, even if it lays back down.
- Missing Shingles: Take photos of the exposed felt or underlayment where shingles were completely torn away. Don't forget to take pictures of any shingles you find lying in your yard, too.
- Collateral Damage: Your roof isn't the only thing that proves a storm's severity. Document downed tree limbs, dents in your siding, or a damaged fence. This helps paint a complete picture of the event.
Pro Tip: Your phone automatically embeds the date and time in a photo's data, but it’s still smart to create a dedicated, labeled folder on your computer or cloud drive (e.g., "Wind Damage – [Date of Storm]"). Keeping everything organized makes it much easier to share with your adjuster.
This methodical approach is your best defense against having the damage dismissed as simple "wear and tear." For a full breakdown of the entire claims journey, take a look at our detailed guide on how to file an insurance claim.
The Power of "Before" Photos
One of the most powerful tools in your arsenal is a 'before' photo of your roof. Have you taken any family pictures in the front yard recently? Do you have photos from putting up holiday lights? Even an old Google Street View image can work in a pinch to establish your roof's prior condition.
Placing a "before" picture next to your "after" shots creates an immediate, compelling narrative. It instantly shuts down any questions about pre-existing conditions and proves the damage is new and directly caused by the storm.
Back It All Up with Weather Data
The final piece of the puzzle is independent proof of the storm's intensity. It's one thing to say the wind was howling; it's another to prove it with hard data. Luckily, this info is easy to find.
Search online for historical weather data for your address on the day of the storm. Websites like the National Weather Service (NWS) or other weather providers offer detailed reports. You’re looking for:
- Maximum Wind Gusts: Find the highest recorded wind speed in your area.
- Sustained Wind Speeds: Note the average wind speed during the storm.
- Official Storm Reports: Look for any severe weather warnings issued for your county.
Download or screenshot these reports and add them to your evidence folder. When you can show the adjuster a photo of a creased shingle next to a weather report showing 70 mph gusts in your zip code, your claim becomes incredibly difficult to dispute. You've logically and undeniably connected the cause (high winds) to the effect (your damaged roof).
Know Your Policy Before You Ever Make a Call
Before you even think about dialing your insurance company's number, the very first thing you need to do is find your policy documents. Going into a roof damage insurance claim for wind without a clue what your policy says is a recipe for frustration. The language can feel like a maze, but getting a handle on a few key concepts will completely change the conversation you have with your adjuster and help you set realistic expectations from the get-go.
Think of your policy as the official rulebook. The insurance company has it memorized; you need to know the important parts, too, so you're not playing on an uneven field.
Actual Cash Value vs. Replacement Cost Value
This is probably the single most important detail in your entire policy. The difference between these two can mean a gap of thousands, or even tens of thousands, of dollars in your settlement check.
Actual Cash Value (ACV): This is the tricky one. ACV pays you what your damaged roof was worth at the moment it was damaged. It’s the replacement cost minus depreciation—the value your roof lost over the years from age and general wear. If a storm destroys your 15-year-old roof, an ACV policy gives you the cash for a used, 15-year-old roof, leaving you to pay the difference for a brand new one.
Replacement Cost Value (RCV): This is the coverage you want to see. An RCV policy is designed to pay the full cost to replace your roof with brand-new materials of similar quality, without subtracting for depreciation. It’s what most of us assume our insurance will do.
Here's a pro tip: Even with an RCV policy, you probably won't get all the money at once. The insurance company typically sends an initial check for the ACV amount. Only after you’ve had the work done and sent them the contractor's final invoice will they release the rest of the money (the "recoverable depreciation").
Getting this right is crucial for budgeting your repair. To really dig into the details, take a look at our guide on the difference between Actual Cash Value and Replacement Cost.
Decoding Your Deductible
You know your deductible is what you pay out of pocket before insurance steps in. But for wind damage, it's often not that straightforward. In many areas, especially those prone to storms, policies have a separate—and usually much higher—deductible just for wind and hail.
Instead of a simple flat amount like $1,000, this special deductible is often a percentage of your home's total insured value (often called Dwelling Coverage or Coverage A).
Let’s see how that plays out:
- Your home is insured for a total of $400,000.
- Your policy has a 2% wind/hail deductible.
- Your out-of-pocket cost is $8,000 before insurance pays a dime ($400,000 x 0.02).
This can be a massive shock if you were only expecting to pay your standard, all-peril deductible. Pull out your policy's declaration page and look specifically for the "wind/hail" deductible so you know exactly what your responsibility is.
Watch Out for Common Exclusions and Fine Print
Insurance policies are there for sudden and accidental events, but they're also filled with specific exclusions that can stop a roof claim in its tracks. You need to keep an eye out for language about:
- Age Limits: Some policies automatically switch to ACV-only coverage for roofs older than a certain age, like 15 or 20 years, even if the rest of your home has RCV coverage.
- Material Exclusions: I've seen policies that limit or completely exclude coverage for specific roofing materials, like wood shake or older types of slate.
- "Wear and Tear": This is a classic reason for denial. The adjuster might claim the damage isn't from the wind storm but is just the result of your roof getting old.
This is a huge issue for asphalt shingle roofs, which cover nearly 75 percent of single-family homes in the U.S. Independent research has shown these roofs can become incredibly vulnerable to wind damage in as little as 8 to 10 years—a far cry from their 20-25 year advertised lifespan. This is where your detailed photo evidence becomes your best weapon, proving the damage is fresh and directly tied to the storm, not just old age. You can find more data on these trends over at the Insurance Information Institute.
Managing Contractors and the Adjuster Meeting
This is where the rubber really meets the road with your roof damage insurance claim for wind. How you handle the dynamic between your roofing contractor and the insurance adjuster can make or break your claim. Think of yourself as the general manager, ensuring your team presents a clear, unified case for the full scope of damage to your home.
You can't afford to be a passive bystander here. Your role is to coordinate the key players and make sure they're all working from the same playbook—one that details every bit of damage your property sustained.
Vetting and Selecting Your Roofing Contractor
Before the adjuster even schedules their visit, you should have at least one, and ideally two, repair estimates from reputable, local roofing contractors. Getting these quotes first gives you a powerful baseline. It frames the entire negotiation around real-world costs, preventing the adjuster’s initial number from becoming the only number that matters.
Unfortunately, the aftermath of a big storm is a magnet for out-of-state "storm chasers." These companies parachute into neighborhoods, slap on quick and often shoddy repairs, and vanish before the first leak appears, leaving you with a worthless warranty.
You can usually spot them by their aggressive sales tactics and too-good-to-be-true offers. Be very skeptical of anyone who:
- Knocks on your door uninvited offering a "free" roof inspection.
- Pushes you to sign a contract on the spot, creating a false sense of urgency.
- Offers to "eat" or "cover" your deductible (which is a form of insurance fraud).
- Is driving a truck with out-of-state plates and can't provide a local business address.
Your best defense is simple: hire local. Find a contractor who is well-established in your community, can show you proof of their license and insurance, and has a long list of happy customers you can actually call.
Key Takeaway: Never, ever sign a contract with a roofer that contains an "assignment of benefits" clause unless you've had it reviewed and understand every word. Signing one can hand over all your rights under the policy directly to the contractor, effectively kicking you out of the driver's seat of your own claim.
Picking the right contractor is half the battle. Asking the right questions from the get-go will help you filter out the storm chasers from the true professionals.
Vetting Your Roofing Contractor Questions to Ask
| Question Category | Specific Question to Ask | What a Good Answer Looks Like |
|---|---|---|
| Licensing & Insurance | "Can I see a copy of your state license and your general liability and worker's compensation insurance certificates?" | "Absolutely. I'll email them to you right now. You can also look us up on the state licensing board website." |
| Local Presence | "How long have you been in business in this area? Do you have a physical office I can visit?" | "We've been serving the community for over 15 years. Our office is located downtown on Main Street." |
| Experience | "How many wind damage roof replacements have you handled in the past year?" | "We've completed over 50 storm damage projects locally this year. I can provide you with addresses to see our work." |
| Subcontractors | "Will you be using your own employees or subcontractors for this job?" | "We have our own dedicated crew for all roofing work. We only subcontract for specialized tasks like guttering." |
| Warranty | "What kind of warranty do you offer on your workmanship, separate from the manufacturer's material warranty?" | "We stand by our work with a 10-year, transferrable workmanship warranty, in addition to the manufacturer's 30-year shingle warranty." |
| Claim Assistance | "Have you worked with my insurance company before? Are you willing to meet the adjuster on-site?" | "Yes, we work with all major insurers and we always meet the adjuster on-site to ensure they see all the damage we've identified." |
These questions aren't just for your peace of mind; they're a critical tool to protect your investment and ensure a quality repair.
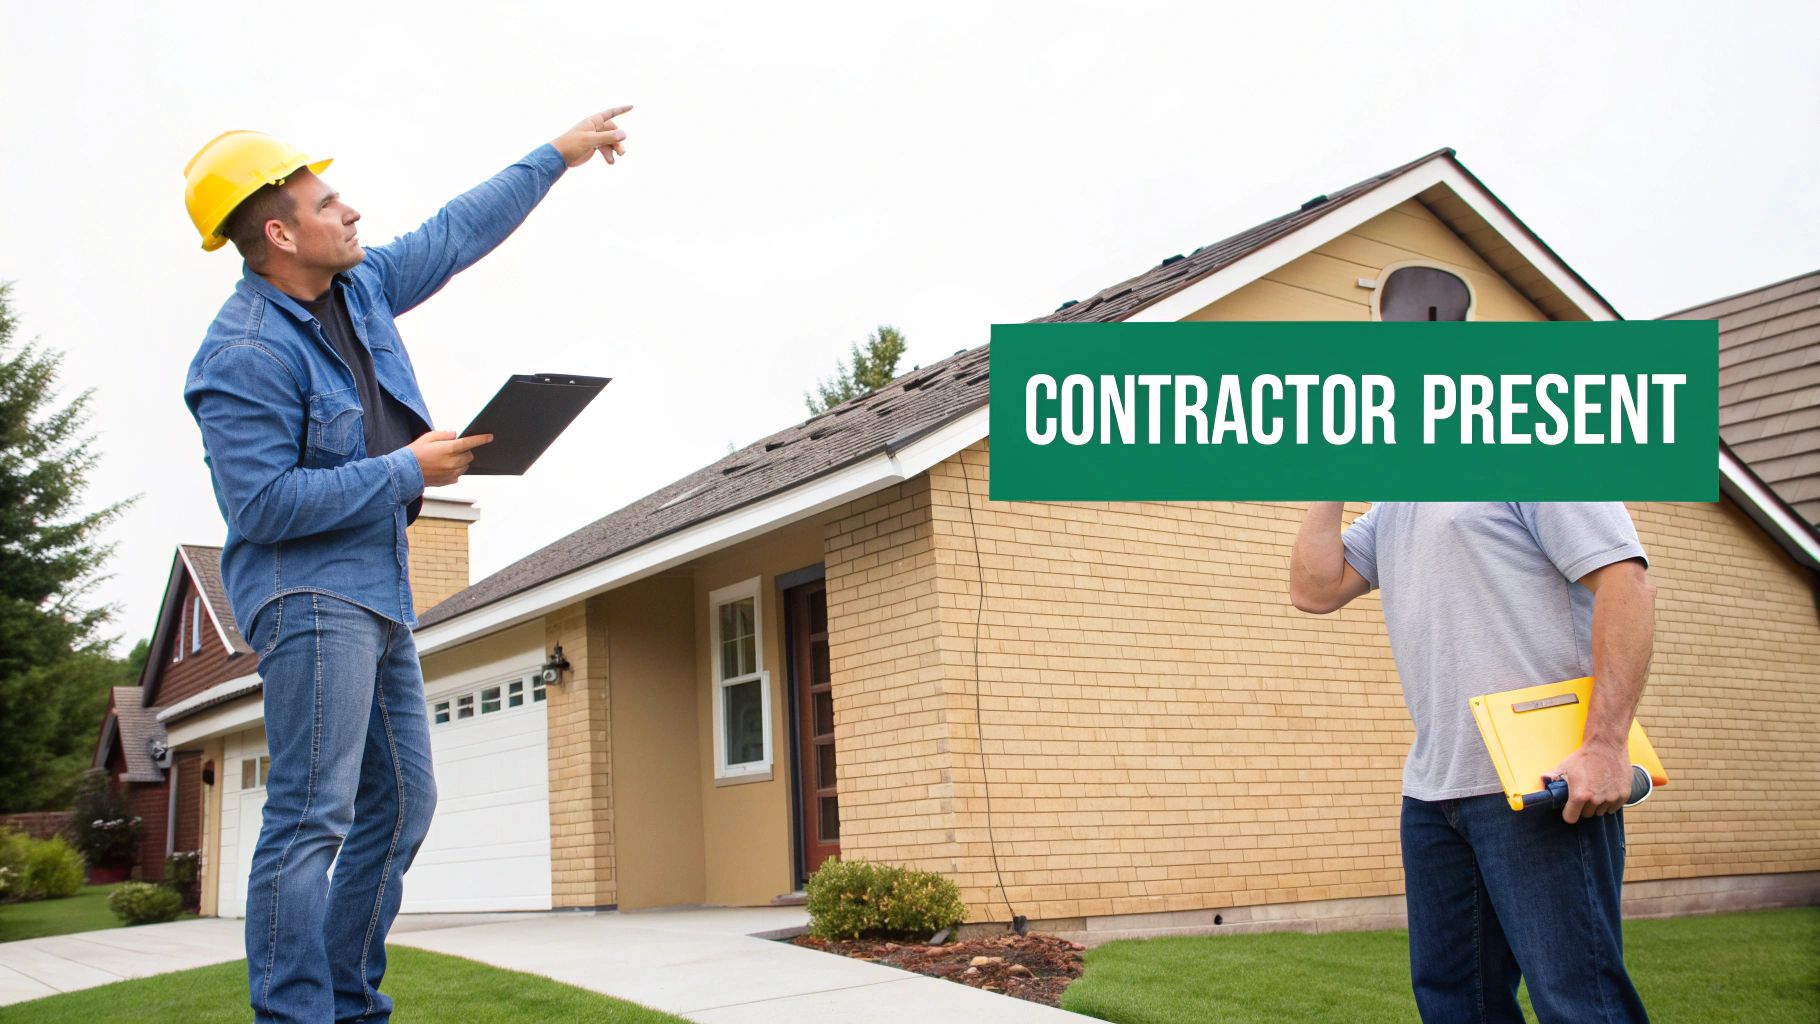
Scheduling the Adjuster Meeting Strategically
Once you have a contractor you trust, it's time for the pivotal next step. When the insurance adjuster calls to schedule their inspection, you need to take control of the calendar. Simply tell them, "That day works, but I need my roofer to be present for the inspection. What time works for both of you?"
This isn't an over-the-top request; it's a smart, proactive move. Adjusters are often swamped after a storm and might only spend 15-20 minutes on your roof. Having your contractor there provides a second, expert set of eyes dedicated solely to your property.
Here’s why a coordinated meeting is so powerful:
- Nothing Gets Missed: Your roofer can point out the subtle signs of wind damage—like broken sealant strips on shingles that haven't fully creased—that a rushed adjuster might easily overlook.
- They Speak the Same Language: Your contractor can discuss proper repair methods, local building code requirements, and the need for matching materials in industry terms the adjuster understands.
- Agreement Happens On-Site: When the two experts walk the roof together, they can often agree on the scope of work right then and there. This simple act can prevent weeks or even months of back-and-forth disputes.
By having your expert present, you change the dynamic from a quick inspection into a collaborative assessment. This dramatically boosts your odds of getting a fair and accurate estimate from the very beginning. If you're dealing with multiple types of damage, our guide on hail damage roof insurance claims offers more detailed insights.
Your Role During the On-Site Inspection
On the day of the inspection, your job is to be the organized homeowner who has done their homework. Let the professionals do their thing on the roof.
Your role is on the ground. Have your portfolio of evidence—all the photos, videos, and weather reports you gathered—laid out and ready for the adjuster to review. Hand them the written repair estimates from your contractor. This immediately shows you're serious and anchors the financial conversation to reality.
Politely point out the areas of greatest concern that you've already documented. By managing this critical meeting with preparation and a calm, professional demeanor, you set the stage for a successful claim. You're not just a homeowner; you're a prepared advocate for your property.
What to Do When Your Claim is Denied or Lowballed
Getting a low settlement offer or an outright denial on your wind damage claim can feel like a punch to the gut. It’s frustrating, for sure, but it’s crucial to know that this is often just the opening round of negotiations, not the final decision. Insurance carriers are businesses, and their first offer rarely tells the whole story.
The key is to stay calm and methodical. Don’t let frustration take over. Instead, pivot into a business mindset where your organized evidence and a clear, logical strategy will do the talking for you.
First, Understand Exactly Why They Said No
Your first move is to get the "why" in writing. An insurance company can’t just deny your claim without providing a specific reason based on your policy language. You have every right to request a formal letter that clearly explains their decision.
This document is gold. It locks them into an official position, giving you a clear target to challenge. I’ve seen it all, but some of the most common reasons they give include:
- Pre-Existing Damage: They’ll argue the roof was already in bad shape before the storm hit.
- Normal Wear and Tear: This classic excuse attributes the damage to the roof's age rather than a specific weather event.
- Faulty Installation: A convenient way to shift blame is to claim the original roofer didn’t install the materials correctly.
- "Unsealed" Isn't "Damaged": This is a tricky one. They may claim that even if the wind broke the shingle's seal, it doesn't count as functional damage unless the shingle is creased or missing.
Once you have their official reason on paper, you can start building a rock-solid counter-argument.
Write a Fact-Based Appeal Letter
Now it's time to craft your response. This should be a professional, evidence-based appeal—not an emotional rant. That detailed damage portfolio you assembled earlier is about to become your best friend.
Structure your letter to dismantle their reasoning, point by point. For example, if they cited "pre-existing damage," counter with your dated "before" photos and the local weather data proving the wind speeds. If they’re blaming "wear and tear," use your contractor's report to explain exactly how fresh wind lift is different from long-term deterioration. You’re turning a subjective debate into a factual one.
Pro Tip: Your appeal is a formal request for reconsideration, not just a complaint. Make it easy for them to say yes. Reference specific photo numbers, your contractor’s line-item estimate, and the weather reports you gathered.
For a deeper dive into crafting these arguments, our guide on how to dispute an insurance claim lays out the entire process.
Consider Invoking the Appraisal Clause
If your well-documented appeal still gets you nowhere, it’s time to check your policy for an "appraisal clause." This is a powerful, often-missed tool for settling disagreements over the cost of the repair when coverage itself isn't in question.
It typically works like this:
- You hire an independent appraiser.
- Your insurance company hires one, too.
- The two appraisers review all the facts and try to agree on a fair repair cost.
- If they can't agree, they select a neutral "umpire" to make the final, legally binding decision.
This process can be a fantastic way to break a stalemate without the time and expense of going to court.
Time to Call for Backup?
Let's be honest: sometimes, no matter how perfect your evidence is, an insurer simply won’t cooperate. If you've tried everything and are still facing an unfair situation with your roof damage claim, it's time to bring in professional help.
- A Public Adjuster is a state-licensed professional who works exclusively for you, the policyholder. They handle the entire claim from start to finish and are paid a small percentage of your final settlement.
- An Attorney might be your next step if you believe the insurer is operating in bad faith, like using deceptive tactics or creating unreasonable delays.
Bringing in a professional sends a powerful message: you're serious about getting the fair settlement you're owed. They level the playing field and hold the insurance company accountable to the promises made in your policy.
Common Questions About Wind Damage Roof Claims
When you’re staring at a wind-damaged roof, the insurance claim process can feel like a whole new world with its own language. It’s a maze of deadlines, jargon, and potential roadblocks that can make any homeowner’s head spin.
To cut through that confusion, I’ve put together answers to some of the most pressing questions we hear from our clients every day. Getting a handle on these key issues is the first step toward getting your claim on the right track.
How Long Do I Have to File My Claim?
This is a big one, and the honest answer is: it depends. The deadline, known as the statute of limitations, is set by your state and the specific language in your policy. Most of the time, homeowners have somewhere between one to two years from the date of loss to file a claim.
But here’s my advice: never wait that long. You need to report the damage to your insurance company as soon as you and your family are safe. The more time that passes, the tougher it becomes to prove the damage came from that specific storm. Delays can give the insurance company an easy reason to question, complicate, or even deny your claim.
Will Filing a Claim Make My Premium Go Up?
This is probably the number one fear that keeps people from filing a legitimate claim. And for the most part, you can relax. A single claim for storm damage—what insurers often call an "Act of God"—typically won't cause your individual premium to spike. Insurers are usually prohibited from penalizing a policyholder for something completely out of their control.
Now, there is a catch. If a major storm system causes widespread damage across your entire region, the insurance company might raise rates for everyone in that area to offset their massive losses. So, while your claim won't single you out, you could still see a rate change because of the bigger picture.
What If My Roof Is Old?
The age of your roof will absolutely come up. If your roof was already getting up there in years, the adjuster might argue that the damage is just normal wear and tear, not the storm's fault.
This is exactly why having solid documentation, especially "before" pictures, is so critical. It’s your proof that the roof was doing its job just fine before the storm hit. Also, be aware that many policies have a clause that switches an older roof (often 15-20 years) to Actual Cash Value (ACV) coverage. This means they’ll pay you for the depreciated value of your old roof, not the full cost to replace it.
My Two Cents: Don't let an adjuster dismiss your claim just because of the roof's age. An old roof is still a functional roof. If the wind tore off shingles or caused clear, direct damage, you have a right to coverage under your policy's terms.
Can My Insurer Make Me Use Their Contractor?
Absolutely not. You have the right to choose your own licensed and insured roofer. Your insurance company might offer you a list of their "preferred" or "network" contractors, but you are never obligated to use them.
In fact, it's always a good idea to get a few quotes from local, reputable roofers you've checked out yourself. This way, you can be sure you're getting a fair price and quality work from someone who answers to you, not the insurance company.
While wind is a common culprit, it’s far from the only threat. Hail damage, for example, has become a huge problem. According to Experian data, hail now accounts for a staggering 45.5 percent of all homeowners insurance claims, with the average payout hitting $11,695.
Understanding all the angles of your policy is key. If the storm damage is bad enough to force you out of your home, make sure you know about your loss of use benefits. You can find out more in our guide to Additional Living Expense coverage.
Trying to manage a wind damage claim on your own is a tough road. It takes a deep understanding of your policy and a sharp eye for detail. At Wexford Insurance Solutions, we bring that expertise to the table, advocating for you to make sure your claim is handled fairly and you get the settlement you’re owed. Contact us today to learn how we can protect your biggest investment.
 Difference Between Actual Cash Value and Replacement Cost: A Definitive Guide


